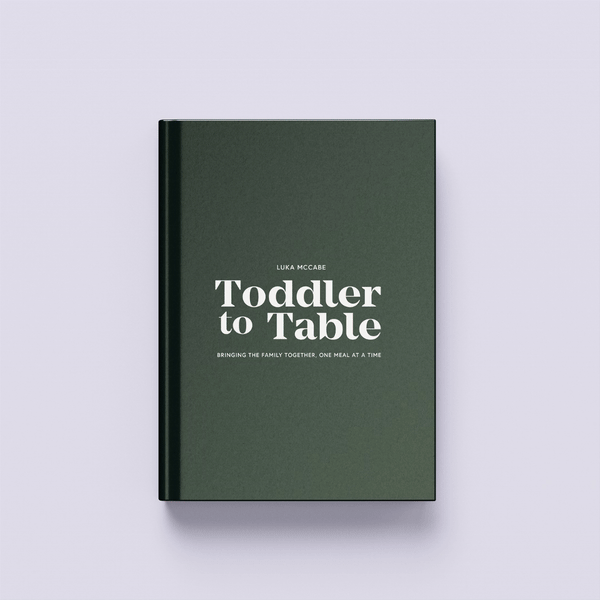


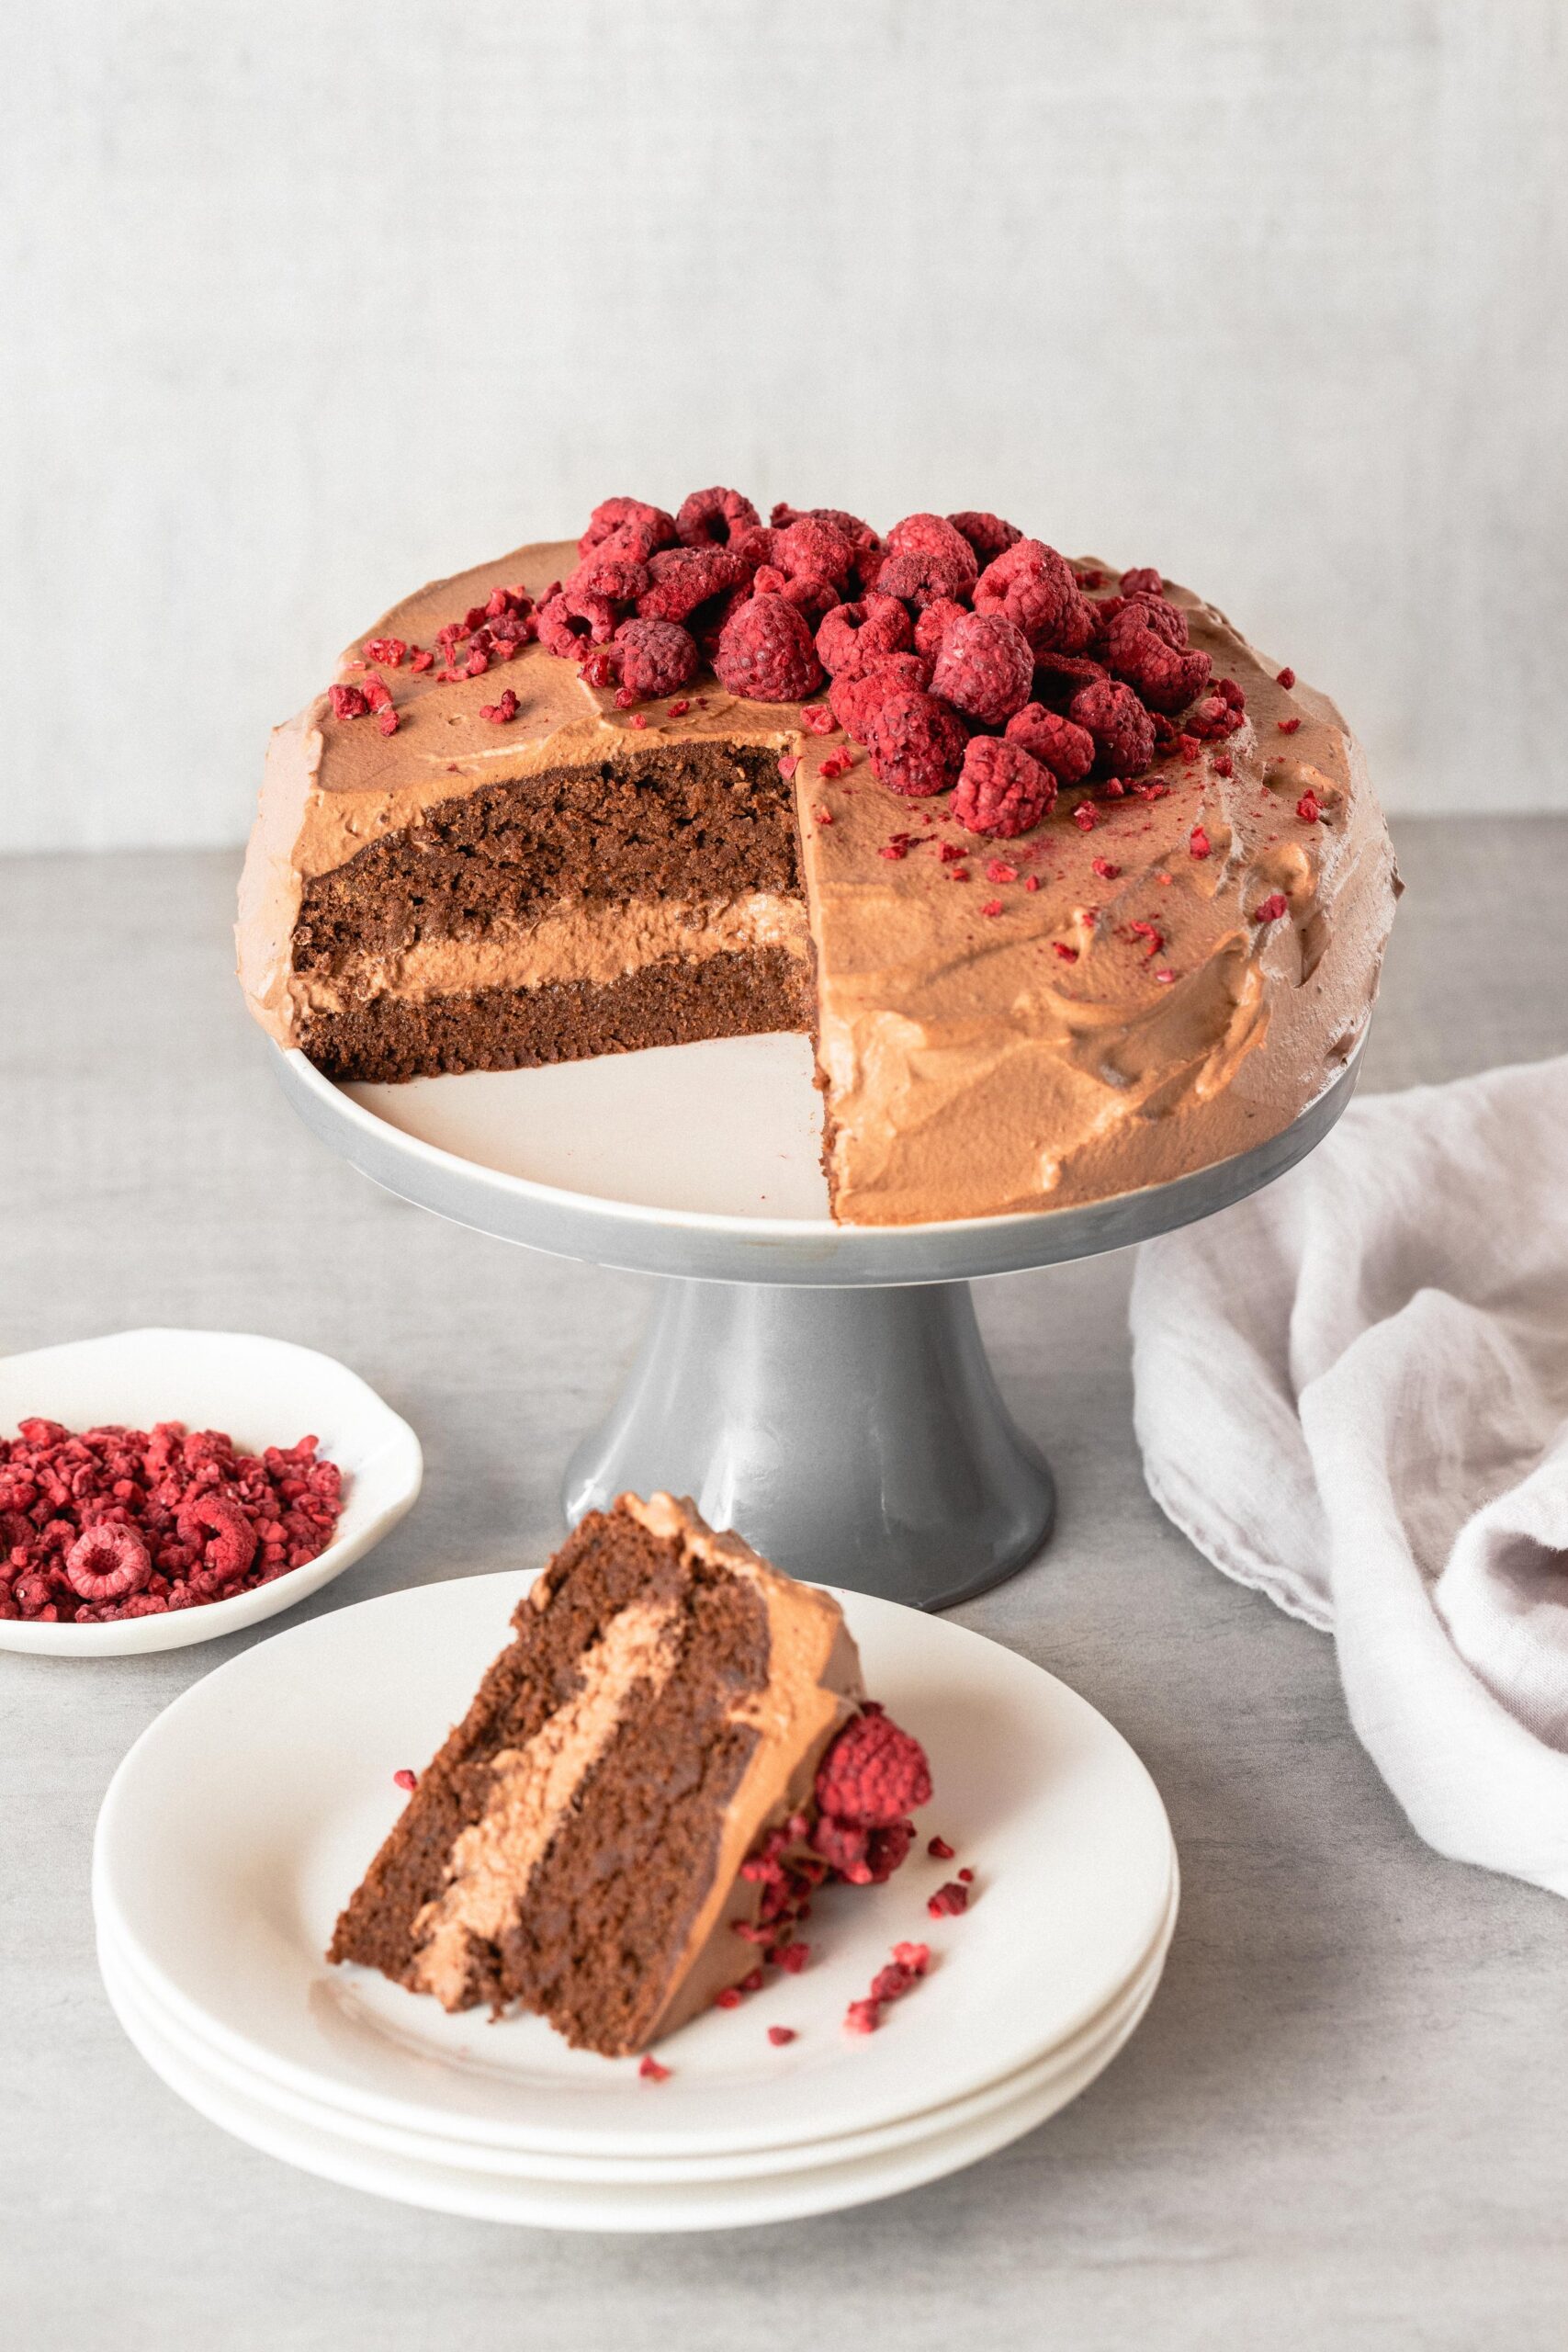
Baby’s First Cake
Gluten Free
About the recipe
This healthy first birthday cake is naturally sweetened, soft, and perfect for little ones. Free from refined sugar and packed with nourishing ingredients, it’s the ideal baby-friendly cake for celebrating that special first milestone — and delicious enough for the whole family too!
Birthday time? Hooray! You made it — you survived your baby’s first year (or another beautiful year together). What a milestone to celebrate!
You’ve been asking (and asking… and asking!) for a first birthday cake recipe, and honestly — I’ve been putting it off because baking isn’t exactly my forte (give me a savoury meal any day!). So I teamed up with my beautiful friend and incredible nutritionist Jordan Pie to create the perfect first birthday cake.
This cake is everything I wanted for a first birthday — wholesome, naturally sweetened, and full of real ingredients you’ll feel proud serving. It’s soft and moist for little mouths, delicious enough for the whole family, and free from refined sugar and additives. Whether you’re doing a big party or just a quiet celebration at home, this one ticks every box.
And if you love it, you’ll adore Jordan’s best-selling eBook Just Desserts — packed with gut-loving, nourishing treats that are healthy enough for breakfast! She’s kindly shared a 30% off code: BOOBTOFOOD so you can enjoy more of her beautiful recipes.
Age Suitability:
Suitable from 12 months+, or earlier if your baby has been introduced to all the ingredients individually.
Serving Suggestions:
Top with yoghurt, cream cheese frosting, or a whipped coconut cream for a naturally sweet finish. Decorate with fresh fruit, freeze-dried berries, or edible flowers for a beautiful, baby-friendly touch.
Storage Tips:
Fridge: Store covered in the fridge for up to 3 days.
Freezer: Freeze individual slices for up to 2 months. Thaw overnight in the fridge or at room temperature before serving
Ingredients
- 1.5 cups blanched almond flour
- 1.5 cups brown rice flour
- ¾ cup cacao powder
- ¾ cup coconut sugar (or maple syrup)
- 1 cup coconut milk
- 3 eggs
- ⅓ cup melted butter, ghee or coconut oil
- 3 TBSP coconut flour
- 2 tsp cinnamon
- 2 tsp vanilla extract
- 1 tsp baking powder
- 1 TBSP apple cider vinegar
For Chocolate Mousse Icing Ingredients
- ½ cup coconut cream
- 70 grams chocolate (chopped)
- 250 ml whipping cream
- maple syrup to taste (Optional)
For Chocolate Avocado Icing Ingredients(DF option)
- 3 large or 4 medium sized ripe avocados
- ⅓ cup maple syrup
- ⅓ – ½ cup cacao powder
- 1 tsp vanilla extract
- ¼ cup coconut milk
Method
- For the Chocolate Mousse Icing Option – add the coconut cream + chocolate into a small saucepan and heat on low until completely melted. Stir to combine. Put this in the fridge to chill while you make the cake.
- For the Chocolate Avocado Icing (DF) Option – add the avocado, cacao, vanilla, maple syrup and coconut milk to a food processor or Thermomix with the butterfly whisk attached if using. Blend until smooth and creamy. Scrape down the sides with a spatula and reblend. Pour into a bowl and place into the fridge to chill while you make the cake.
- Cake Instructions – preheat the oven to 170C. Grease and line a 20cm springform cake tin with baking paper.
- Add all the cake ingredients into a food processor and blend until the ingredients are just combined.
- Pour / scoop the cake batter into the prepared cake tin and place in the oven. Bake for 40 minutes. Check the cake, if you insert a skewer and it doesn’t come out clean, bake for another 5-10 minutes, keep an eye on it. It’s ready when you insert a skewer and it comes out clean.
- Remove the cake from the oven and let it cool completely.
- For the Chocolate Mousse Icing Option – add the chilled ganache into a mixing bowl and beat with a hand mixer until creamy and lump free. In a separate bowl, whip the cream until soft peaks form. Then mix the whipped cream through the chocolate mix until combined. Taste and add in a touch of maple syrup if desired and gently remix. If you have a Thermomix whip the cream first, then remove it and set it aside in a bowl. Add the ganache into the Thermomix and whip on Speed 3 until creamy. Scrape down the side and reblend. Add the whipped cream back in with the ganache and mix on Speed 3 until just combined. Taste and add in a touch of maple syrup if desired and gently remix. Be careful not to overblend this, it should look like chocolate whipped cream when it’s ready.
- Assembling The Cake – use a large knife to score the entire outside edge of the cake halfway up the side. Go slowly, get down at eye-level if necessary. This is simply serving as a marker. Now carefully and evenly cut through the cake along the indentation made with the knife. Go slowly, there’s no need to rush. Carefully use the knife and your hands to lift the top layer off of the bottom layer.
- Add some of the icing on the bottom layer and spread it out evenly. Carefully place the top layer of the cake on top and finish icing the cake with the remaining icing.
- Garnish the cake with fresh or dried berries and optional chocolate shavings.
- Slice, serve and enjoy!
Let’s Search
What’s on your mind?


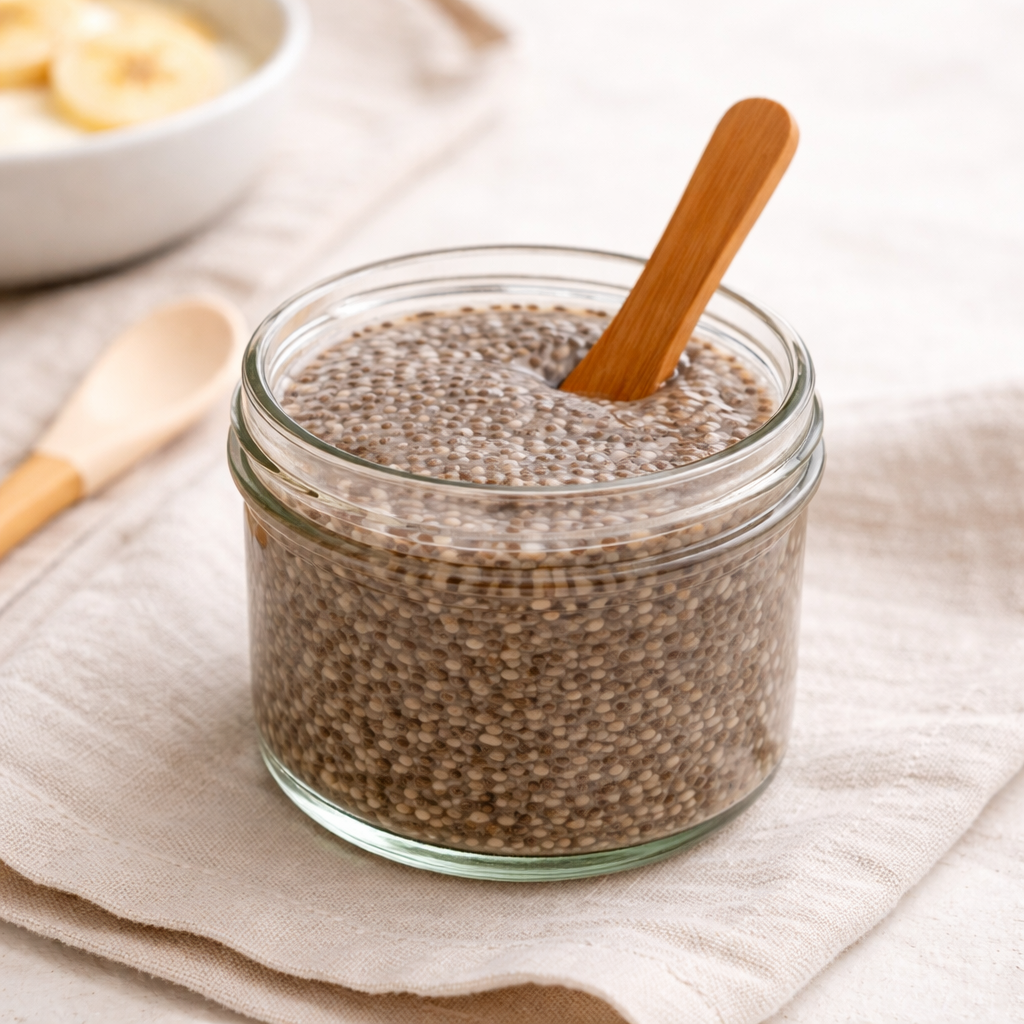
Chia Gel
Chia seeds are one of those small-but-mighty foods that we come back to again and again, especially when supporting little tummies through the transition to solids. They’re incredibly nutrient dense, meaning even a small amount delivers a beautiful boost of fibre, healthy fats, protein, calcium and magnesium. One of the biggest reasons we love chia … Continued
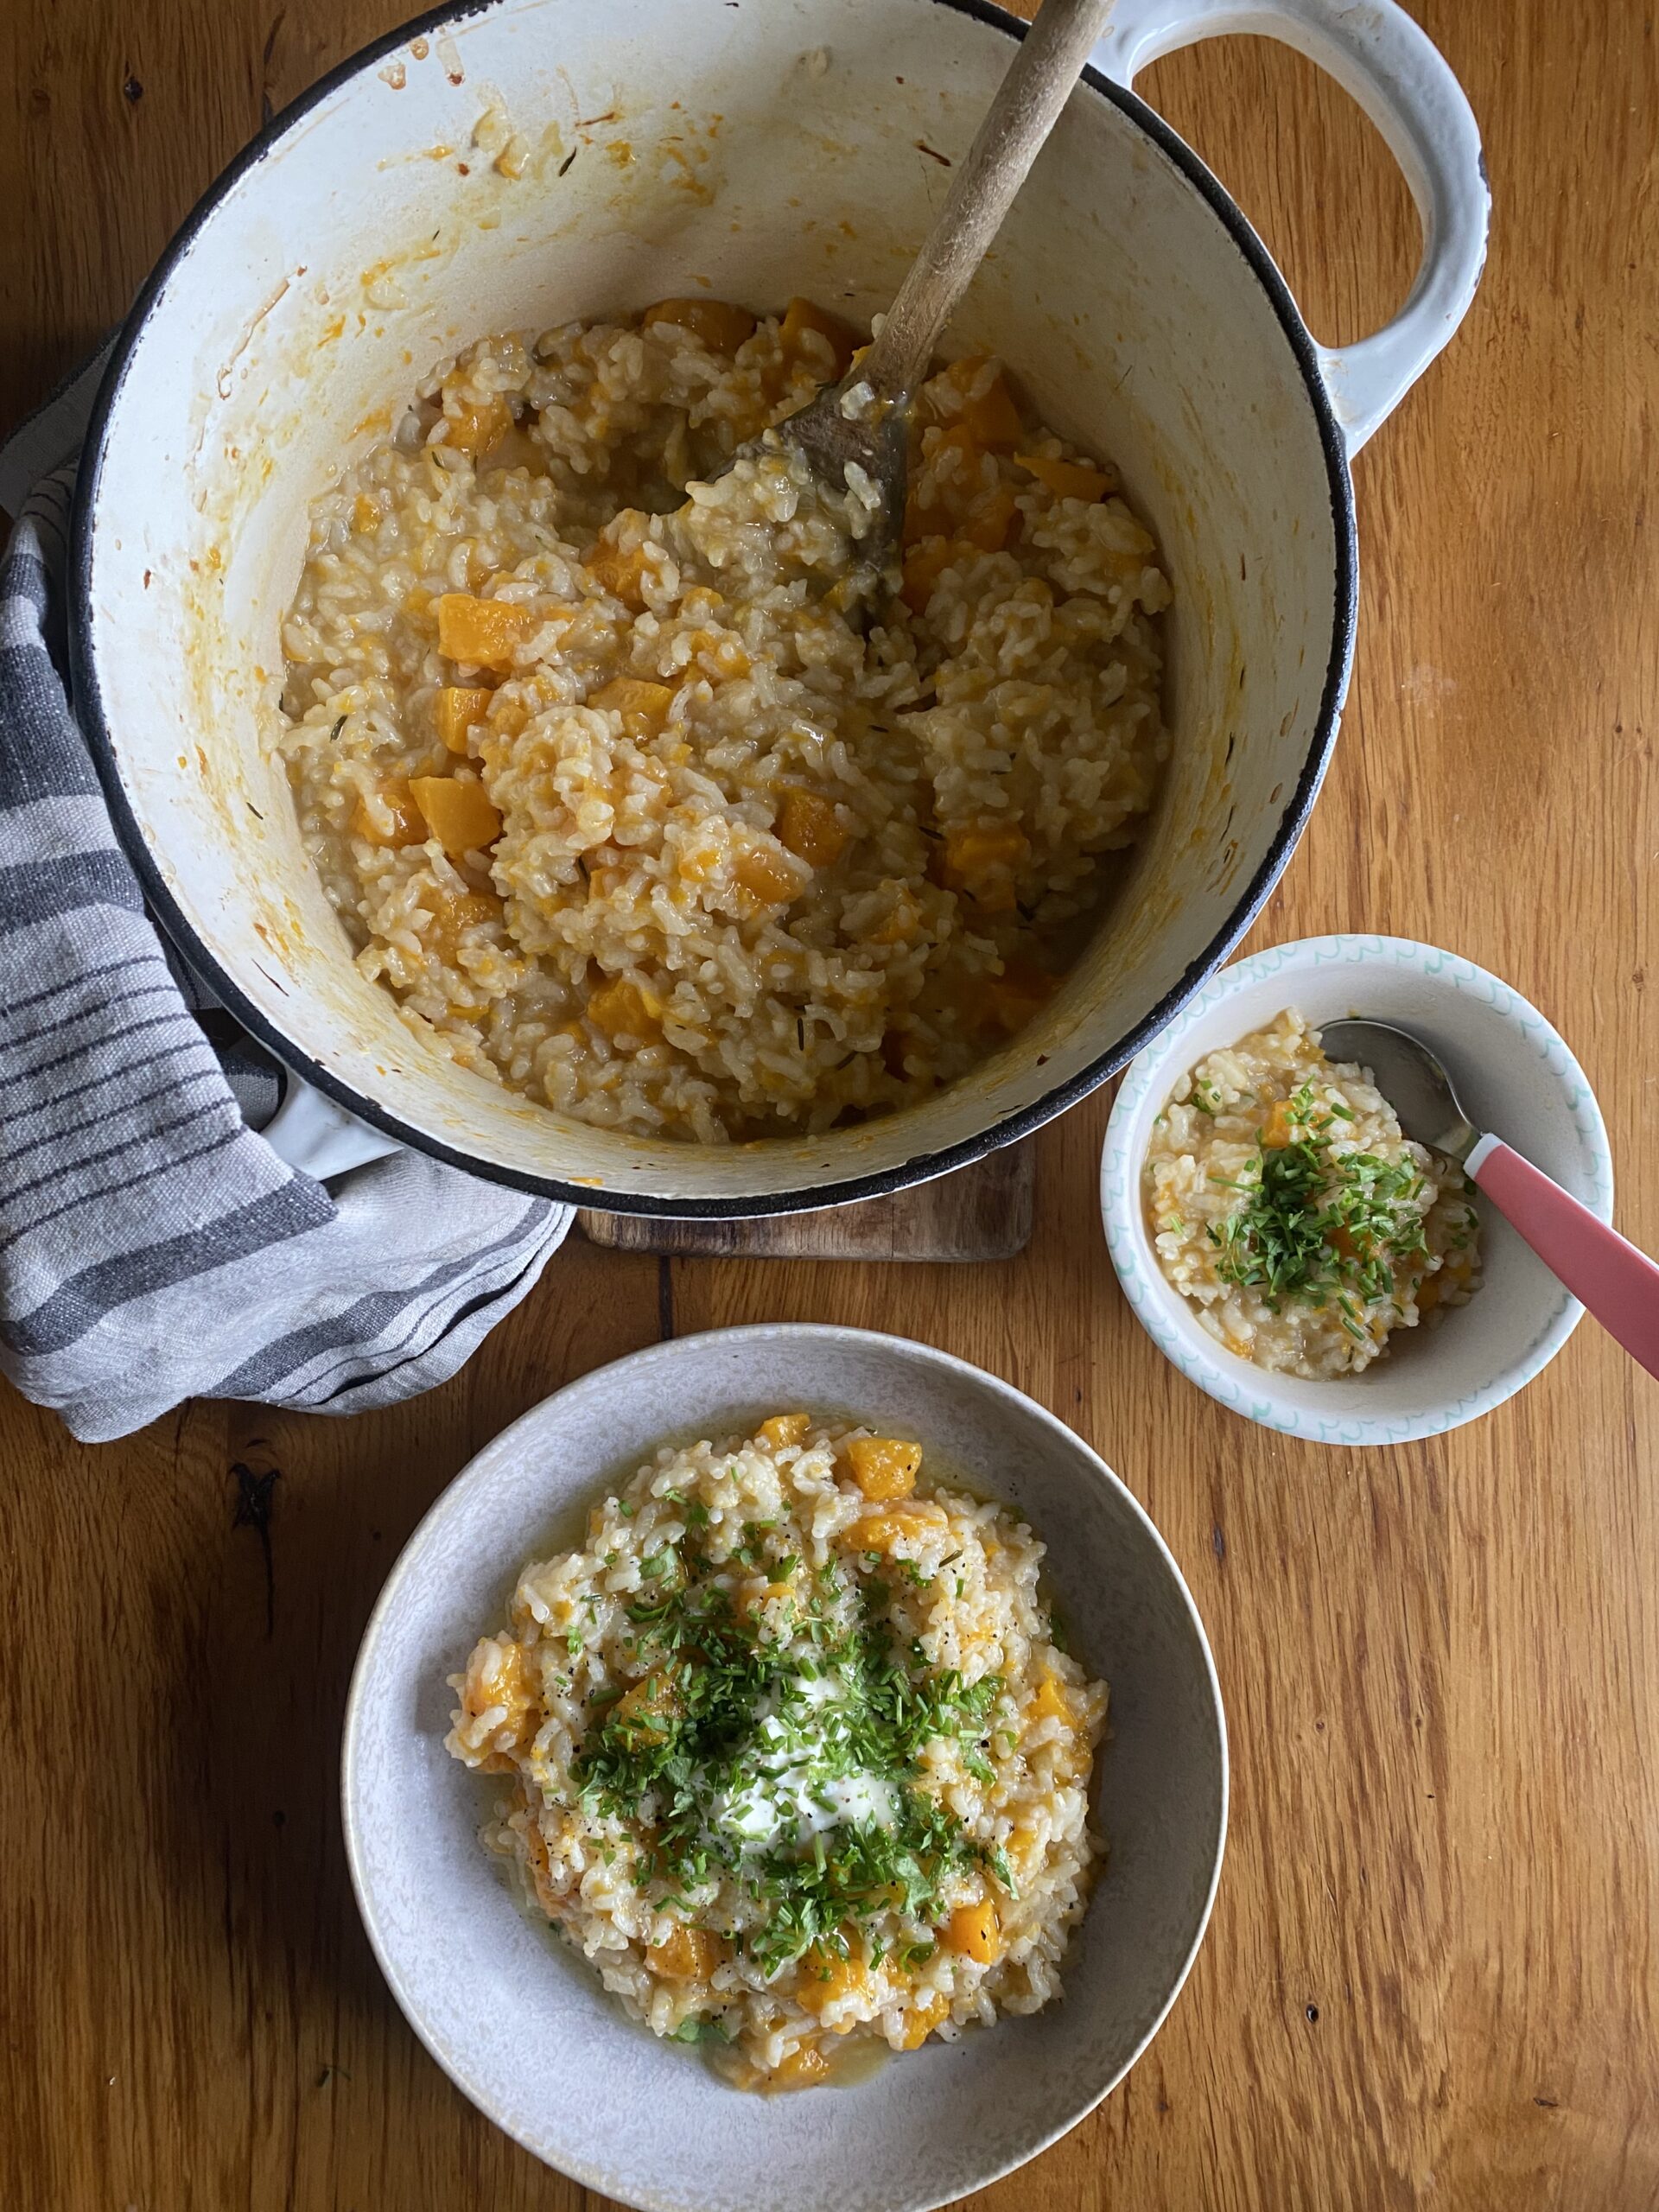
Baked Pumpkin Risotto
I love risotto… but I do not love standing at the stove stirring for 40 minutes while someone’s asking for a snack or hanging off my leg. This baked version is my little kitchen hack. You get that creamy, cosy risotto texture without the constant stirring. The pumpkin softens and melts into the rice, making … Continued
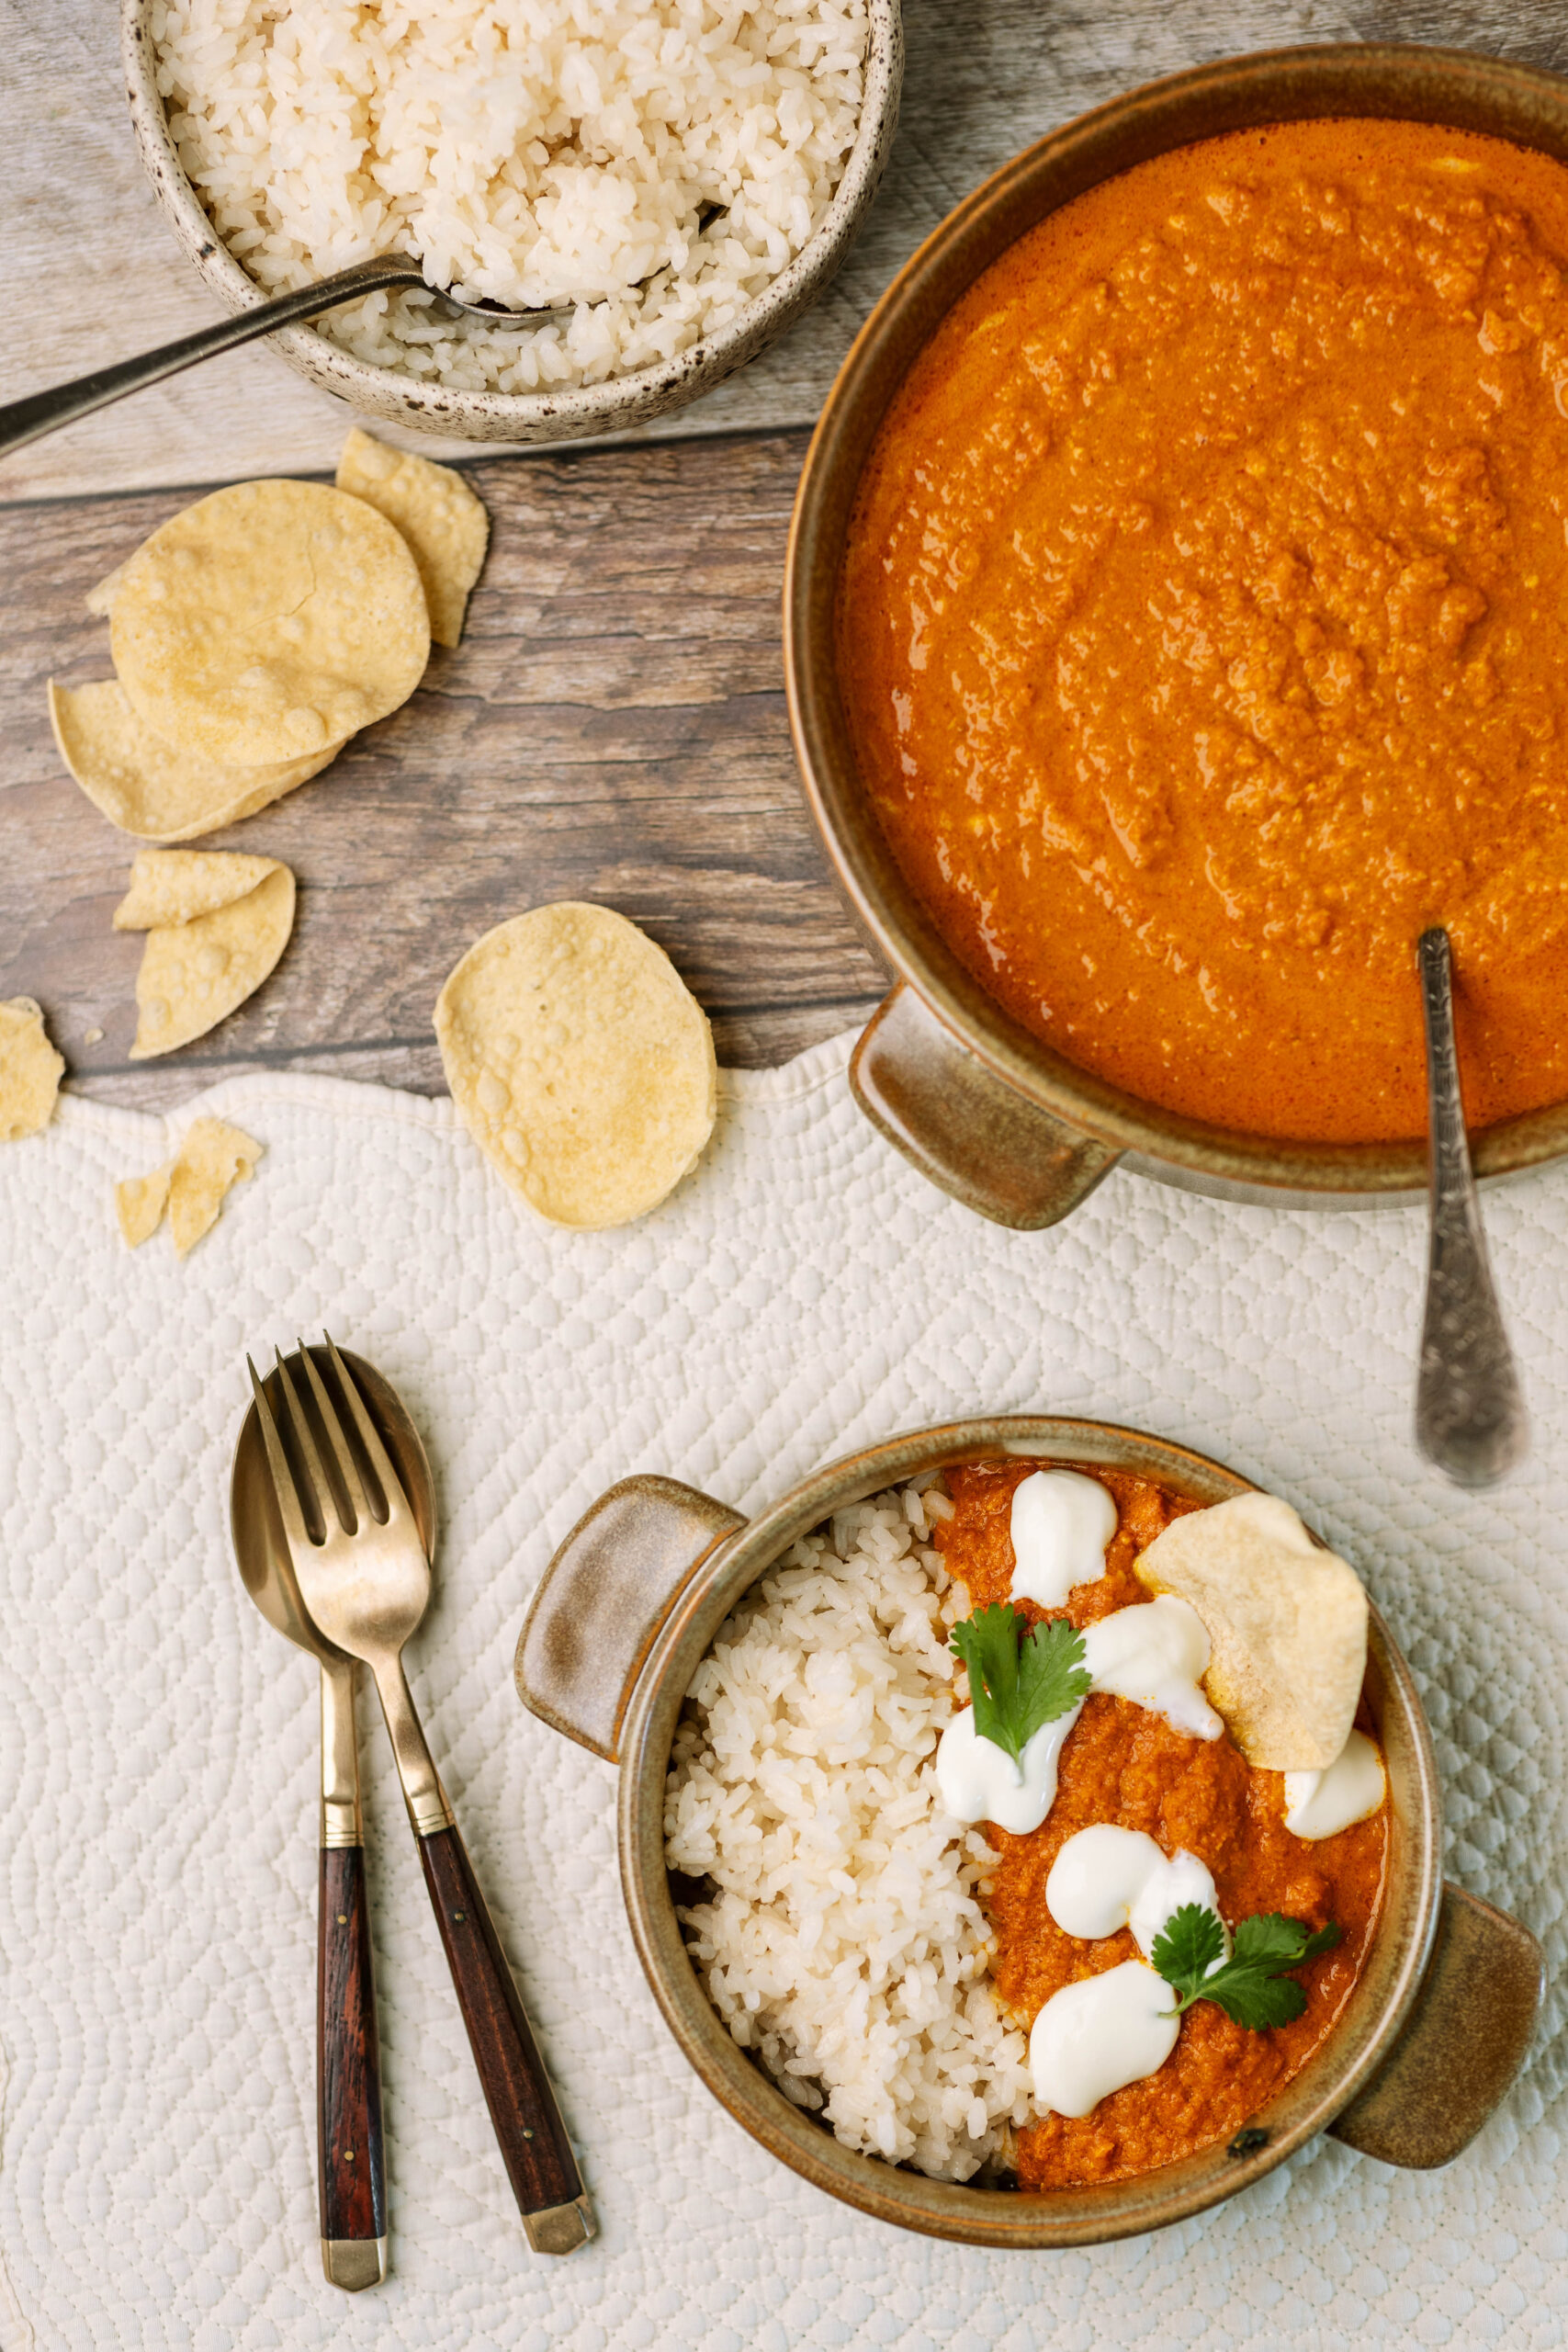
Butter Chicken
This is one of those meals I make when I want everyone at the table to eat the same thing… and actually enjoy it. It feels like a proper comfort dinner, but it’s still gentle enough for babies. The pumpkin softens into the sauce and makes it naturally sweet and creamy, which means you get … Continued
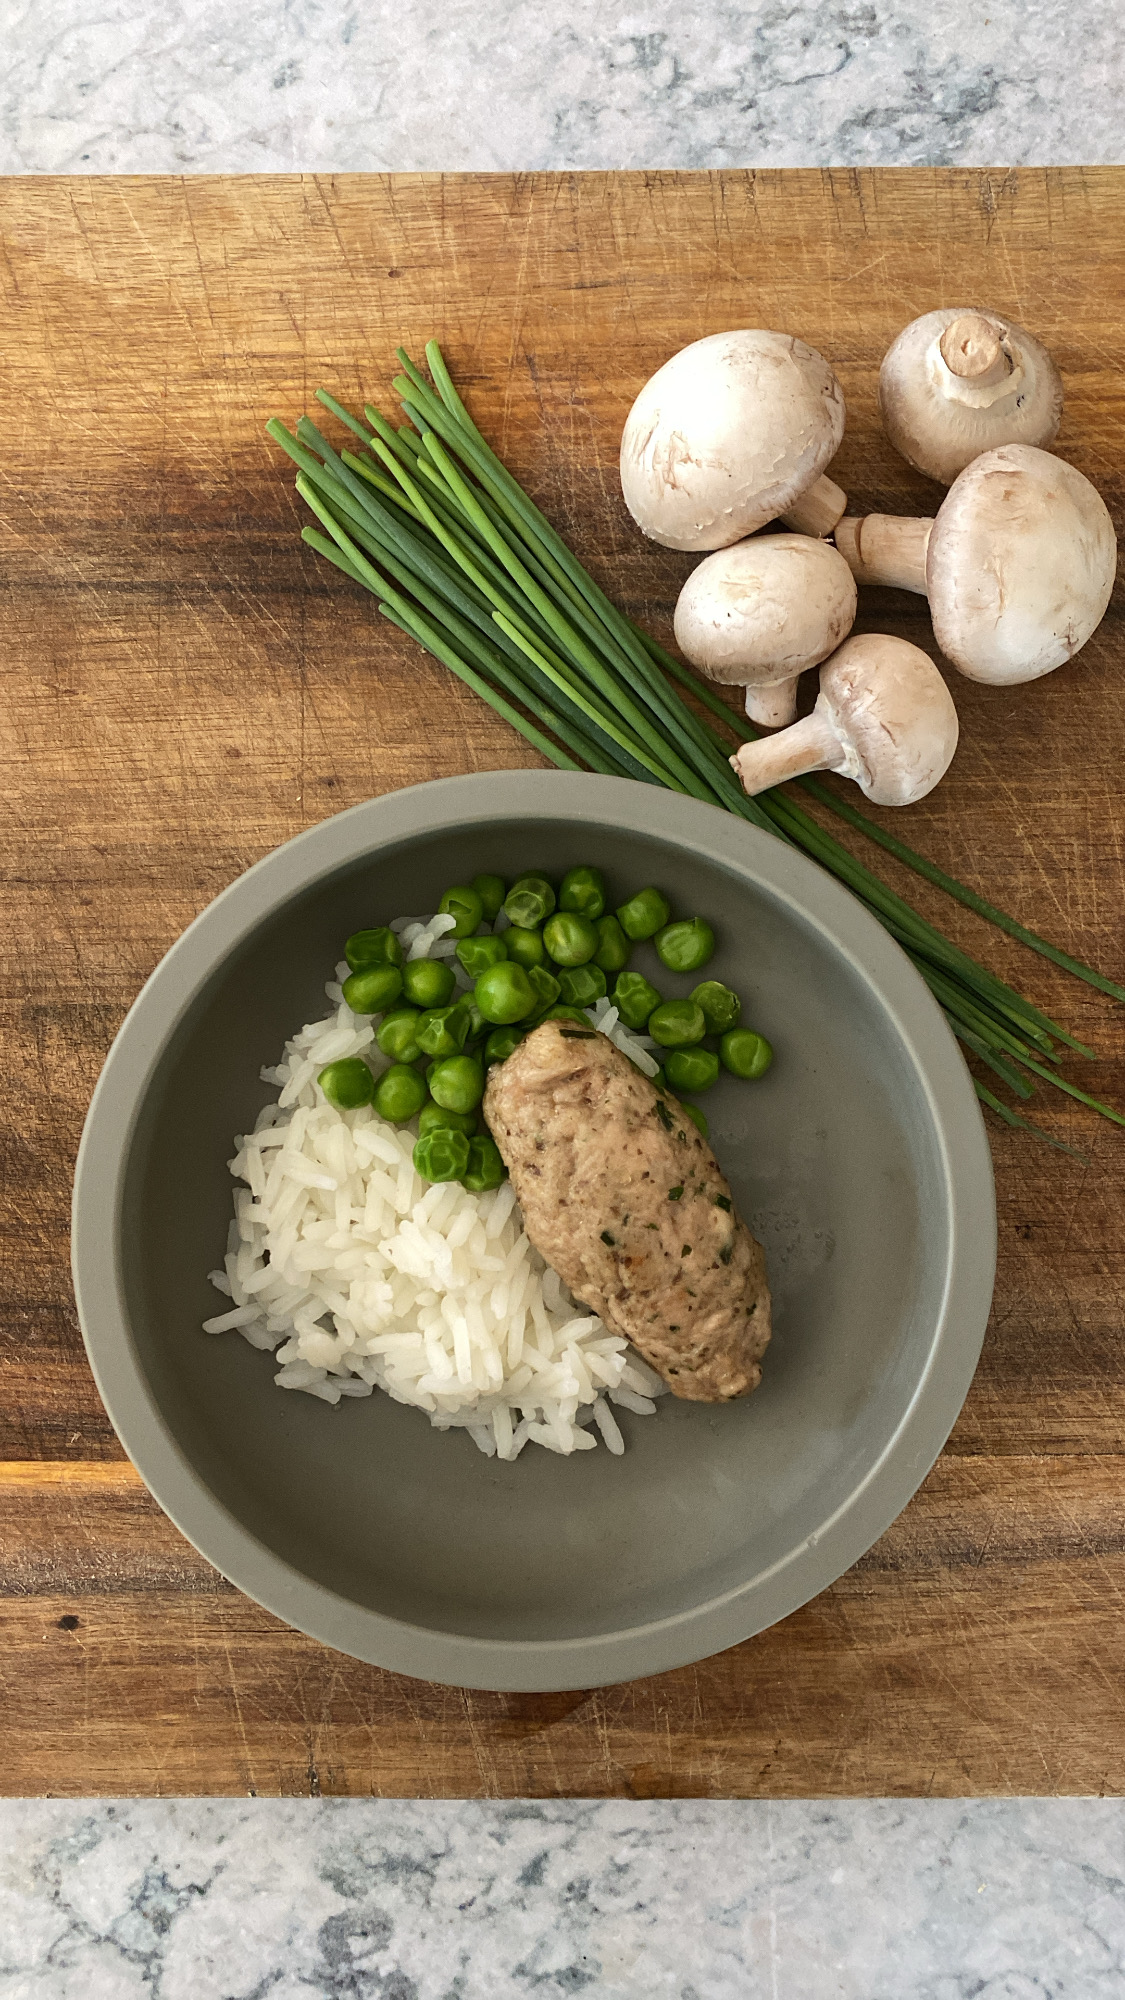
Chicken & Mushroom Meatballs
If you’re looking for a soft, iron-rich finger food that actually holds together in little hands, these Chicken and Mushroom Meatballs are such a winner. They’re juicy, gently flavoured and packed with extra nourishment from finely chopped mushrooms, making them ideal for baby-led weaning. Using chicken thighs keeps them tender and higher in key nutrients … Continued
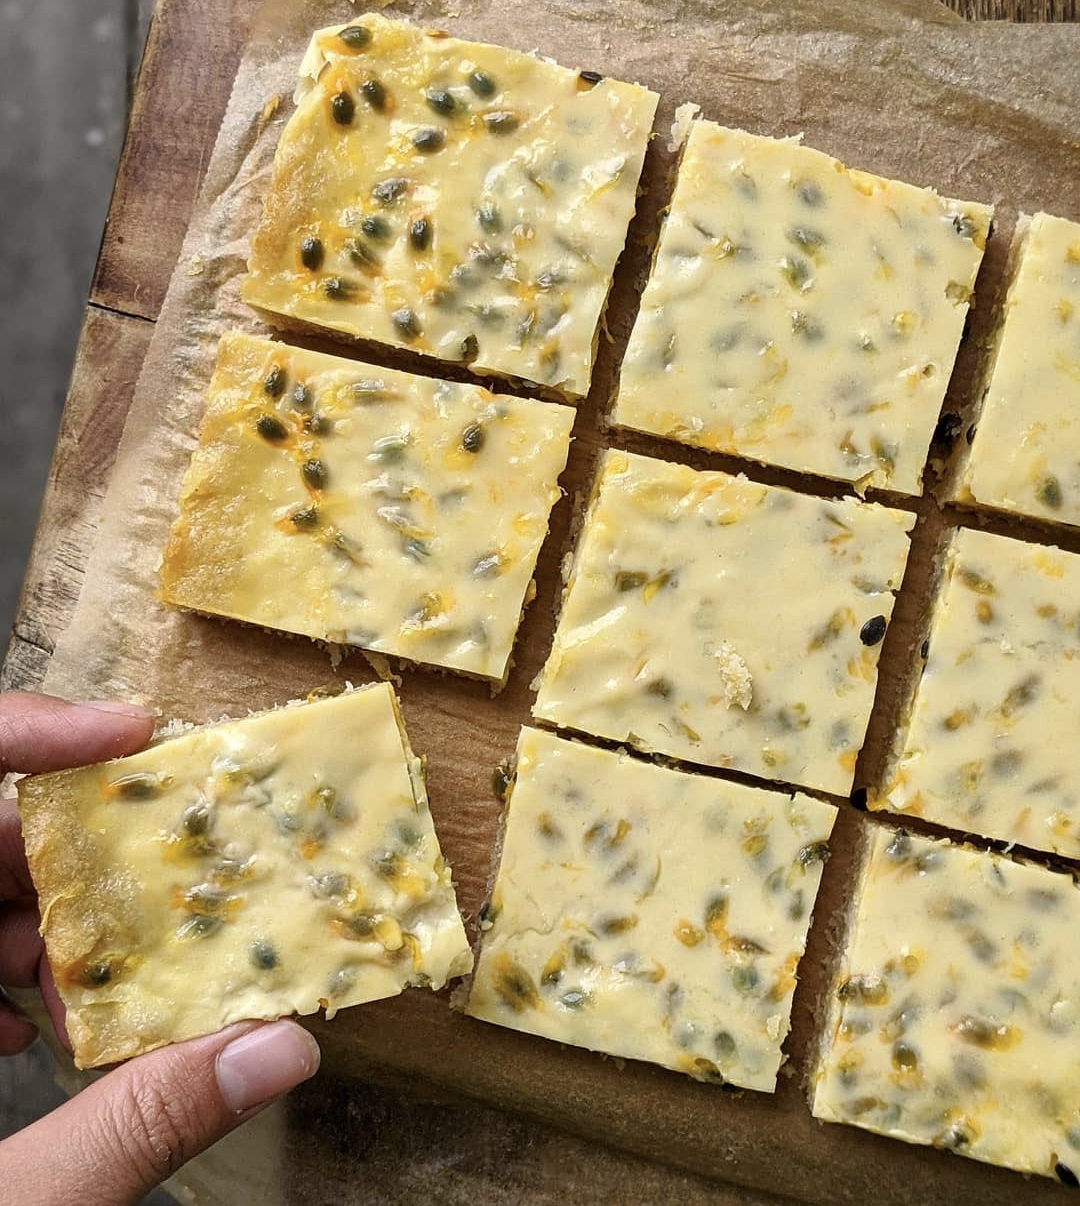
Passionfruit Coconut Slice
This passionfruit coconut slice is one of those recipes that feels a little bit special but is still incredibly simple to make. It is light, fresh and naturally sweet, with that perfect balance of tangy passionfruit and mellow coconut that works beautifully for both kids and adults. It is a toddler-approved favourite in our house … Continued
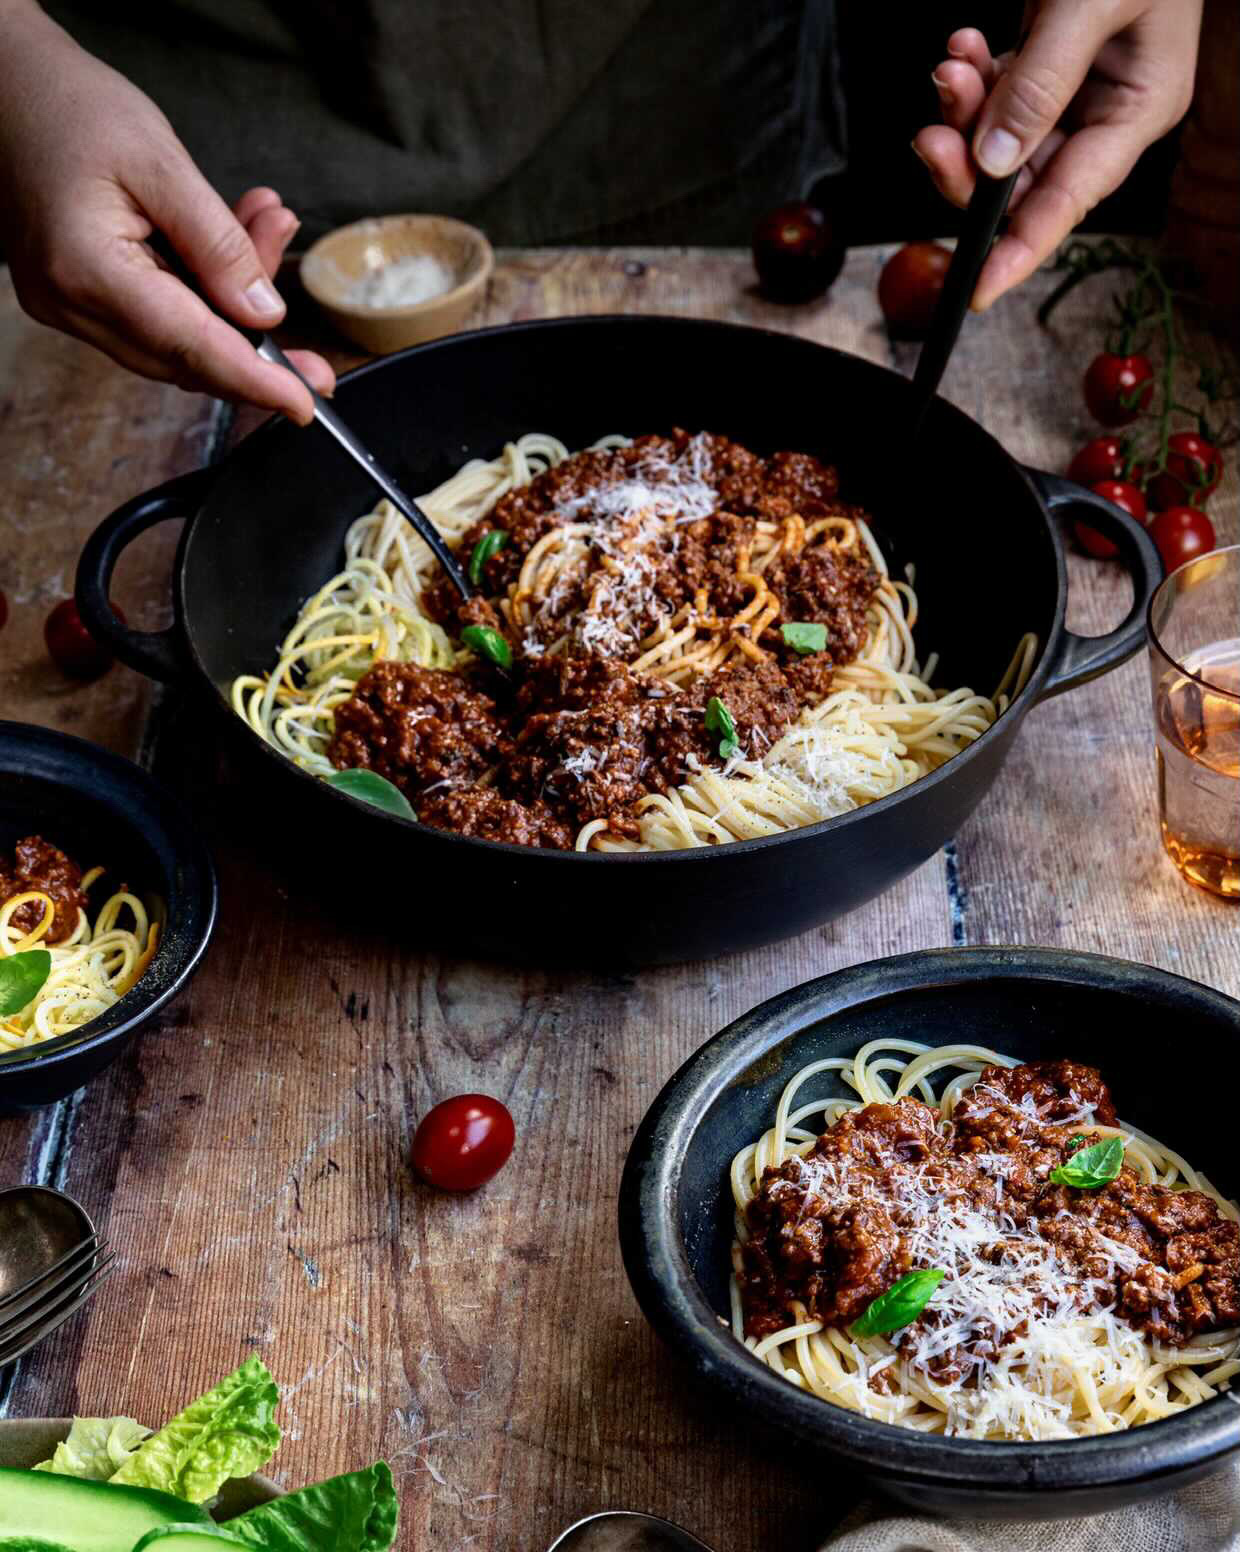
Spaghetti Bolognese With a Twist
Recipe from Toddler to Table This spaghetti bolognese is a classic comfort meal with a clever nutrient-dense twist. It’s the kind of dinner that feels familiar and cosy, but works a little harder behind the scenes to support growing bodies. By adding grated liver and heaps of vegetables into the sauce, you’re boosting iron, zinc, … Continued
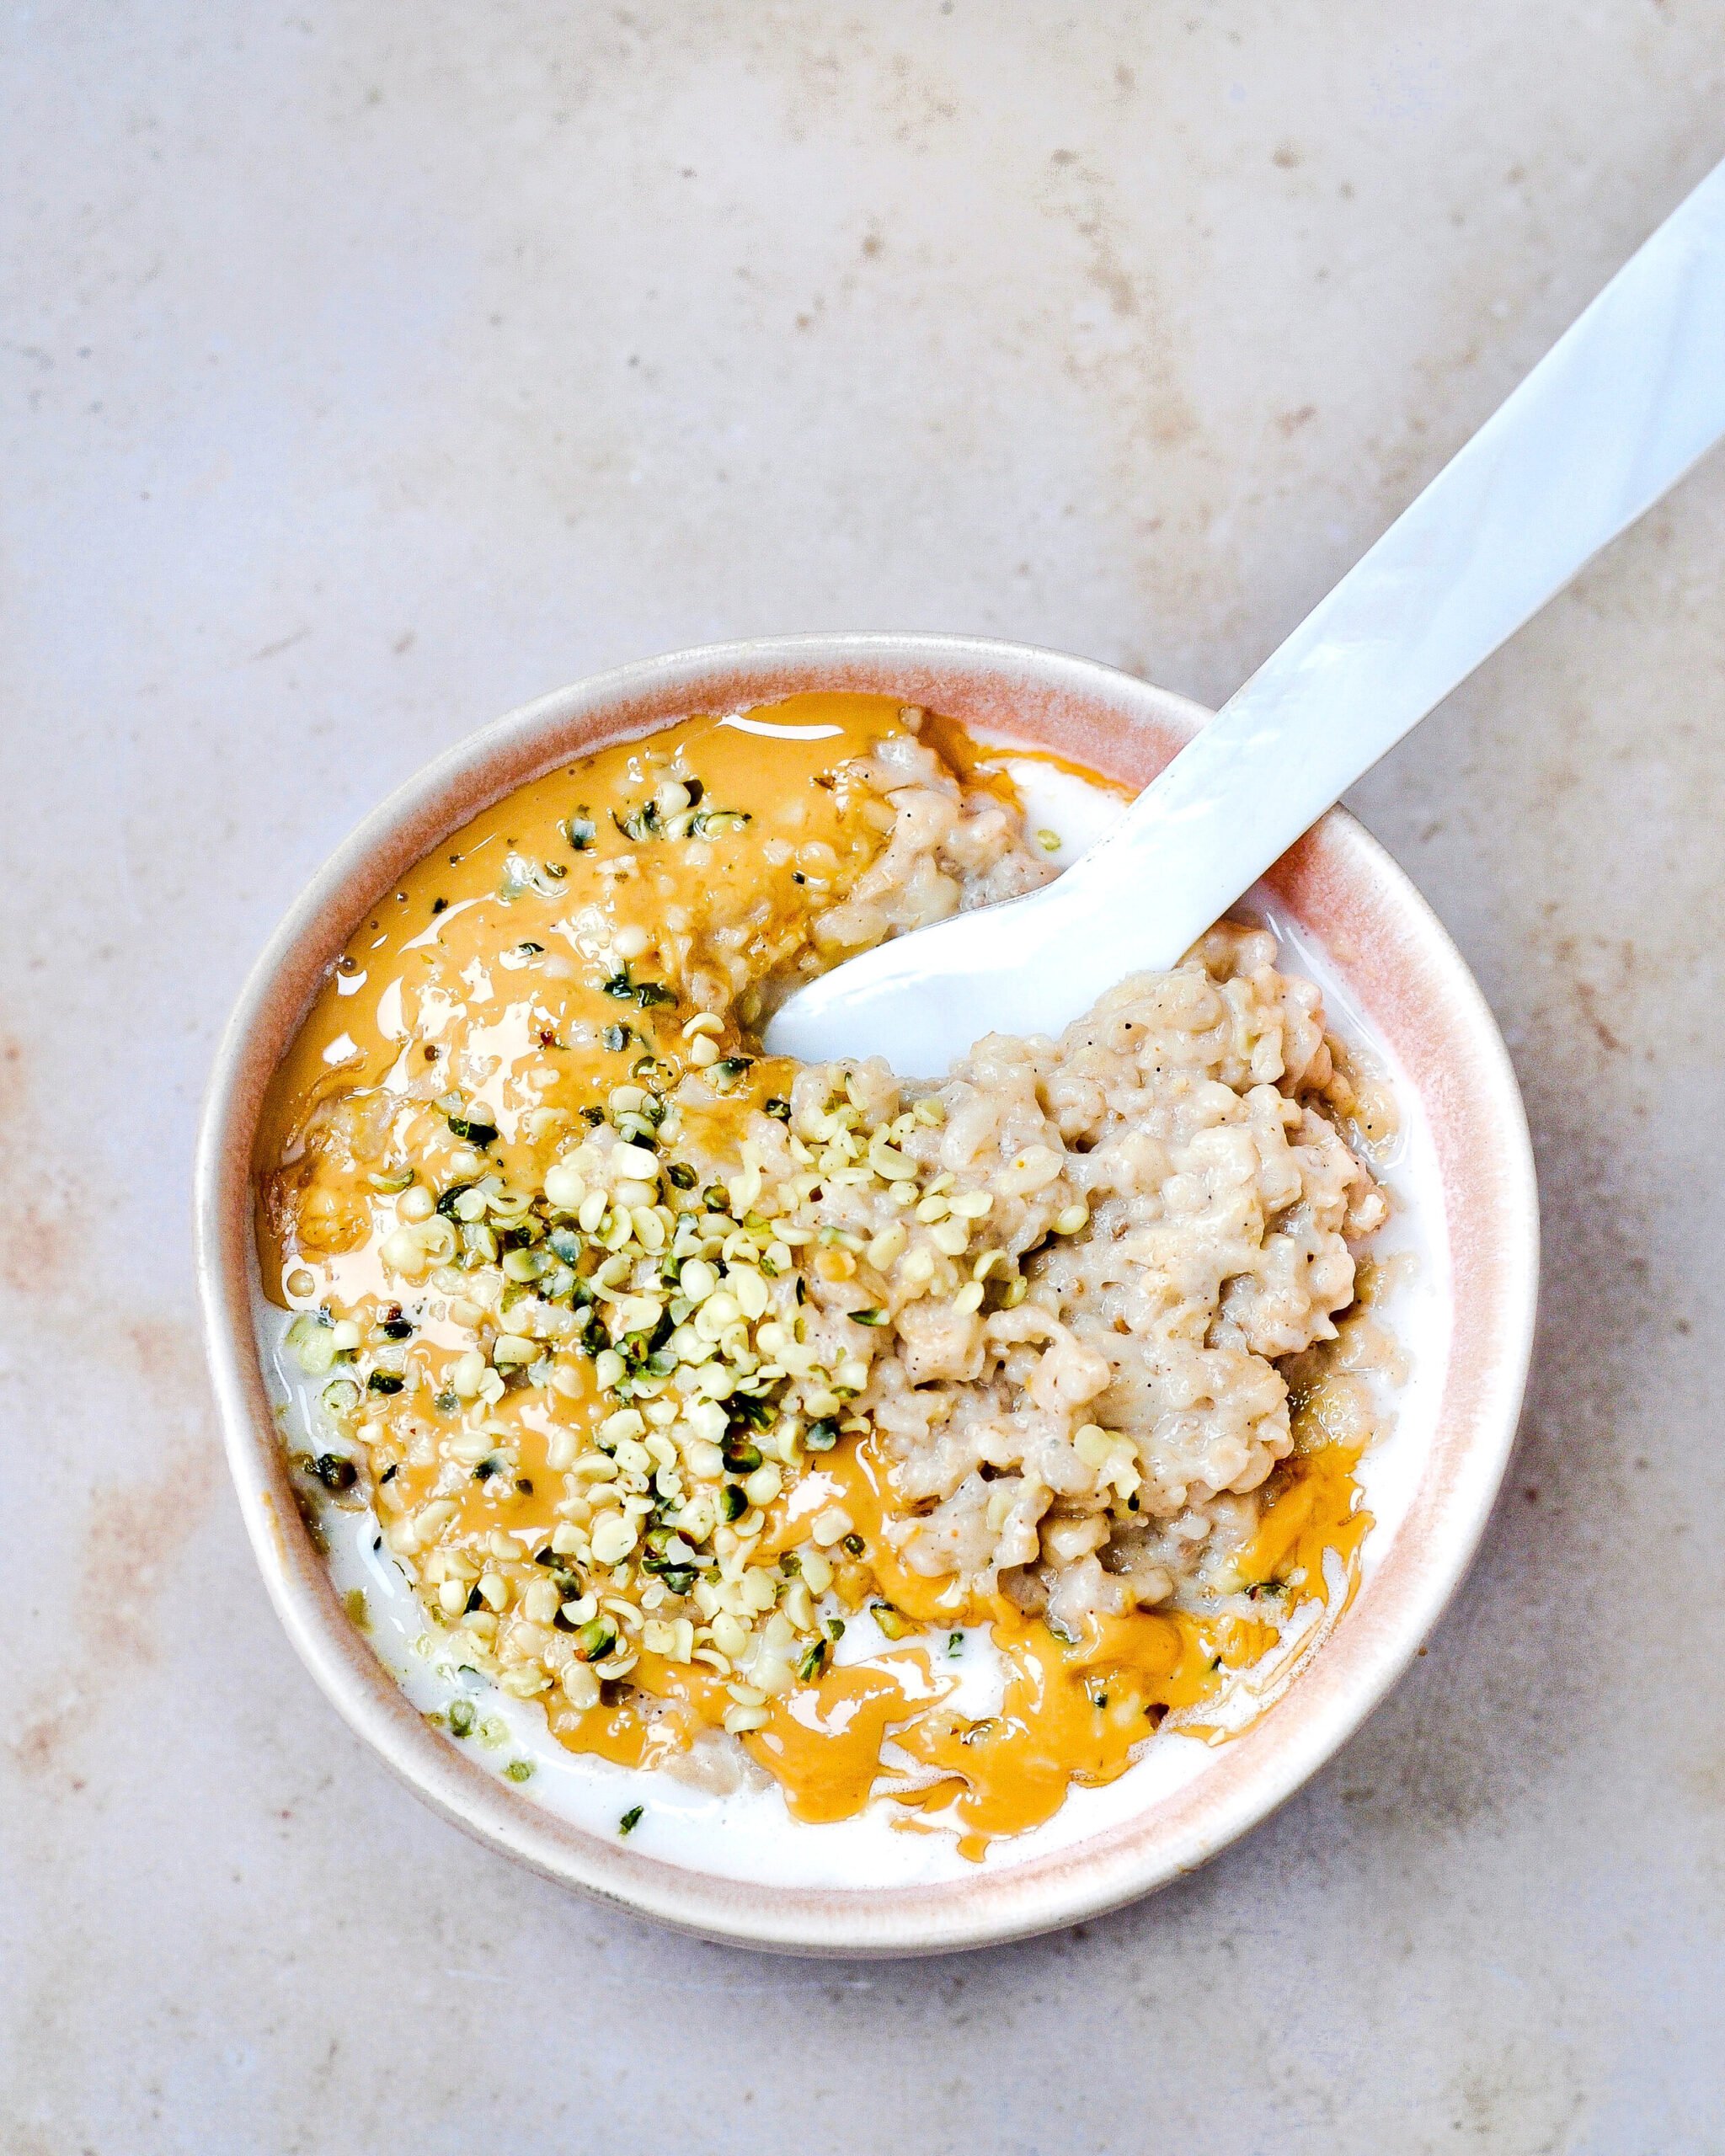
Pumped Up Porridge
A warm, nourishing start to the day – packed with healthy fats, fibre, and blood sugar-balancing goodness for little (and big) tummies. This porridge is a go-to in our house when I want something comforting, filling and full of goodness. Oats are a great source of fibre and antioxidants, but on their own they’re primarily … Continued
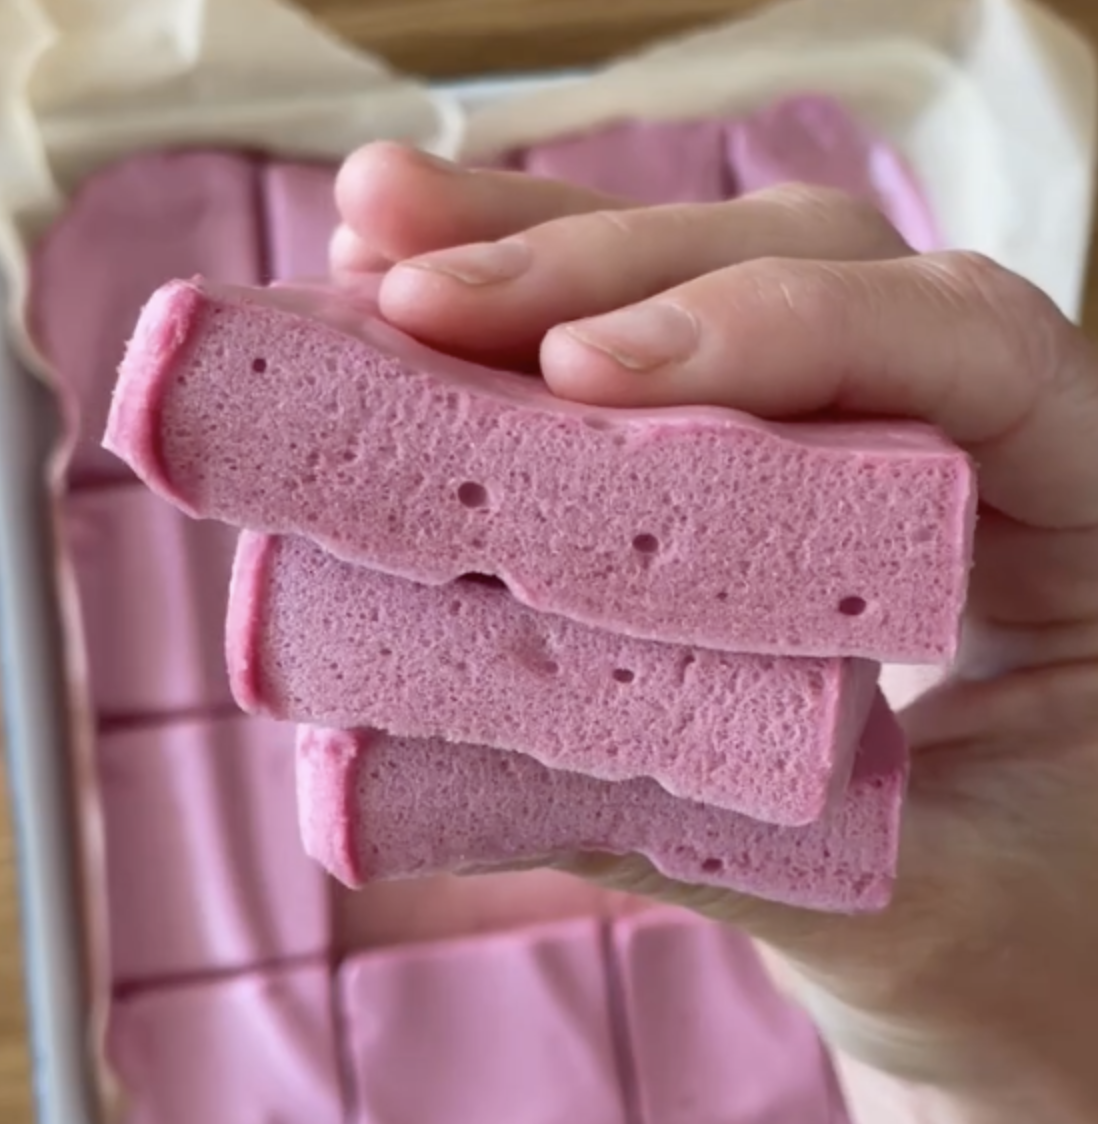
Homemade Marshmallows
This recipe came about by accident one day when I whisked my gummies too much and they set half fluffy.. so the next time I made them, I purposefully whipped them and voila – a gummy turned marshmallow texture! So far I have tried these with a few different juices, and also a sugar-free version … Continued