
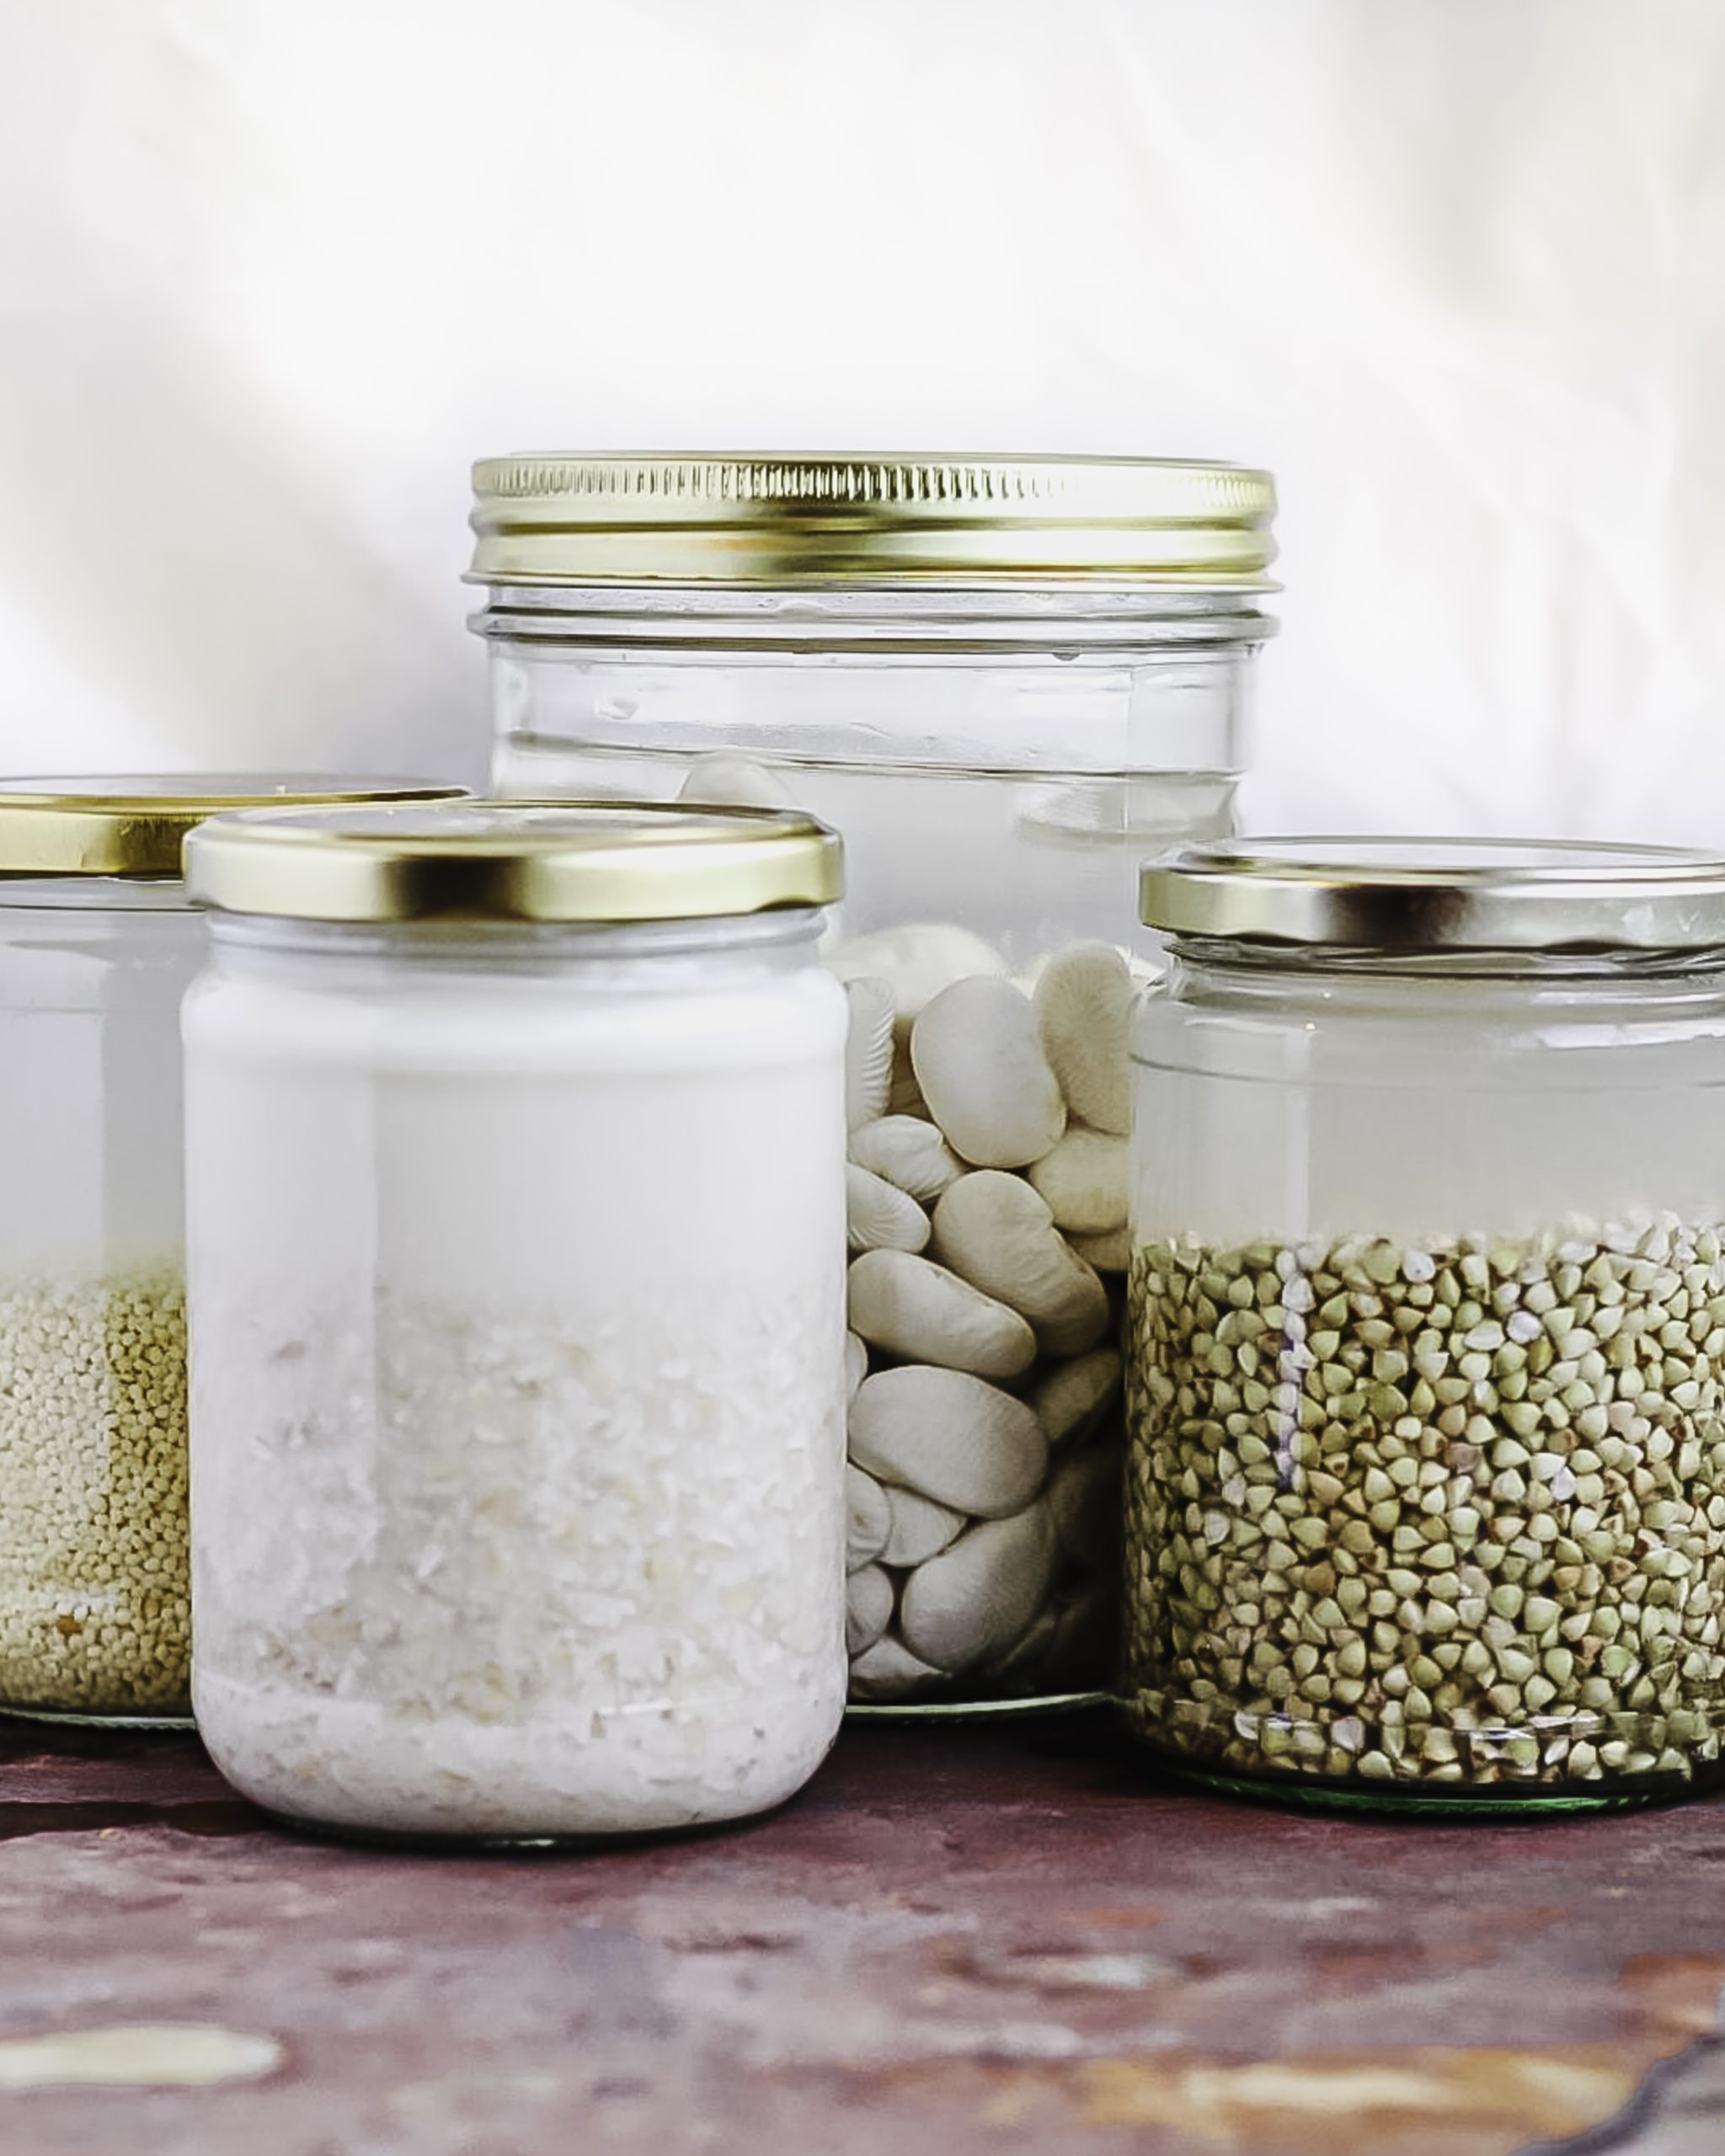


Soaking nuts, seeds, legumes and grains can seem like a tedious task. However, it’s an incredibly easy thing to do that just requires a little bit of forethought and preparation for big gains.
WHY SOAK?
There are many benefits to soaking, the main ones being:
- Improved digestion – soaking will begin the breakdown of complex starches, making legumes and grains easier to digest. Remember that babies have immature digestive systems, so we want to make this transition time as easy as possible for them.
- Bioavailable nutrients – legumes, grains, nuts and seeds contain phytic acid. Phytic acid is a known ‘anti-nutrient’ as it inhibits mineral absorption in the body. It mainly impairs the absorption of iron, zinc and calcium, which isn’t great when our babies require these nutrients in large amounts (especially iron and zinc). However, when you soak your nuts/seeds/grains/legumes, it activates the enzyme that breaks down phytic acid (phytase). This will make those minerals (iron, zinc and calcium) easier for your body to absorb.
- Decrease the cooking time – legumes and grains will not take as long to cook if they have been soaked prior.
- Less sodium – canned beans often have salt added, whereas you can skip this step if you soak and cook them yourself. You’re also missing the BPA found in some cans. And it’s much cheaper!

HOW?
It’s as easy as popping your desired amount of nuts/seeds/grains/legumes into a bowl and covering with water for 8-24 hours. Grains prefer an acid medium to help activate the enzymes; while legumes are better soaked in salt as acids can reduce the texture and flavour of the pulse. Warm water will further facilitate the enzyme process.
Here are the details…
Preparing beans and legumes
You’ll need:
- Warm water
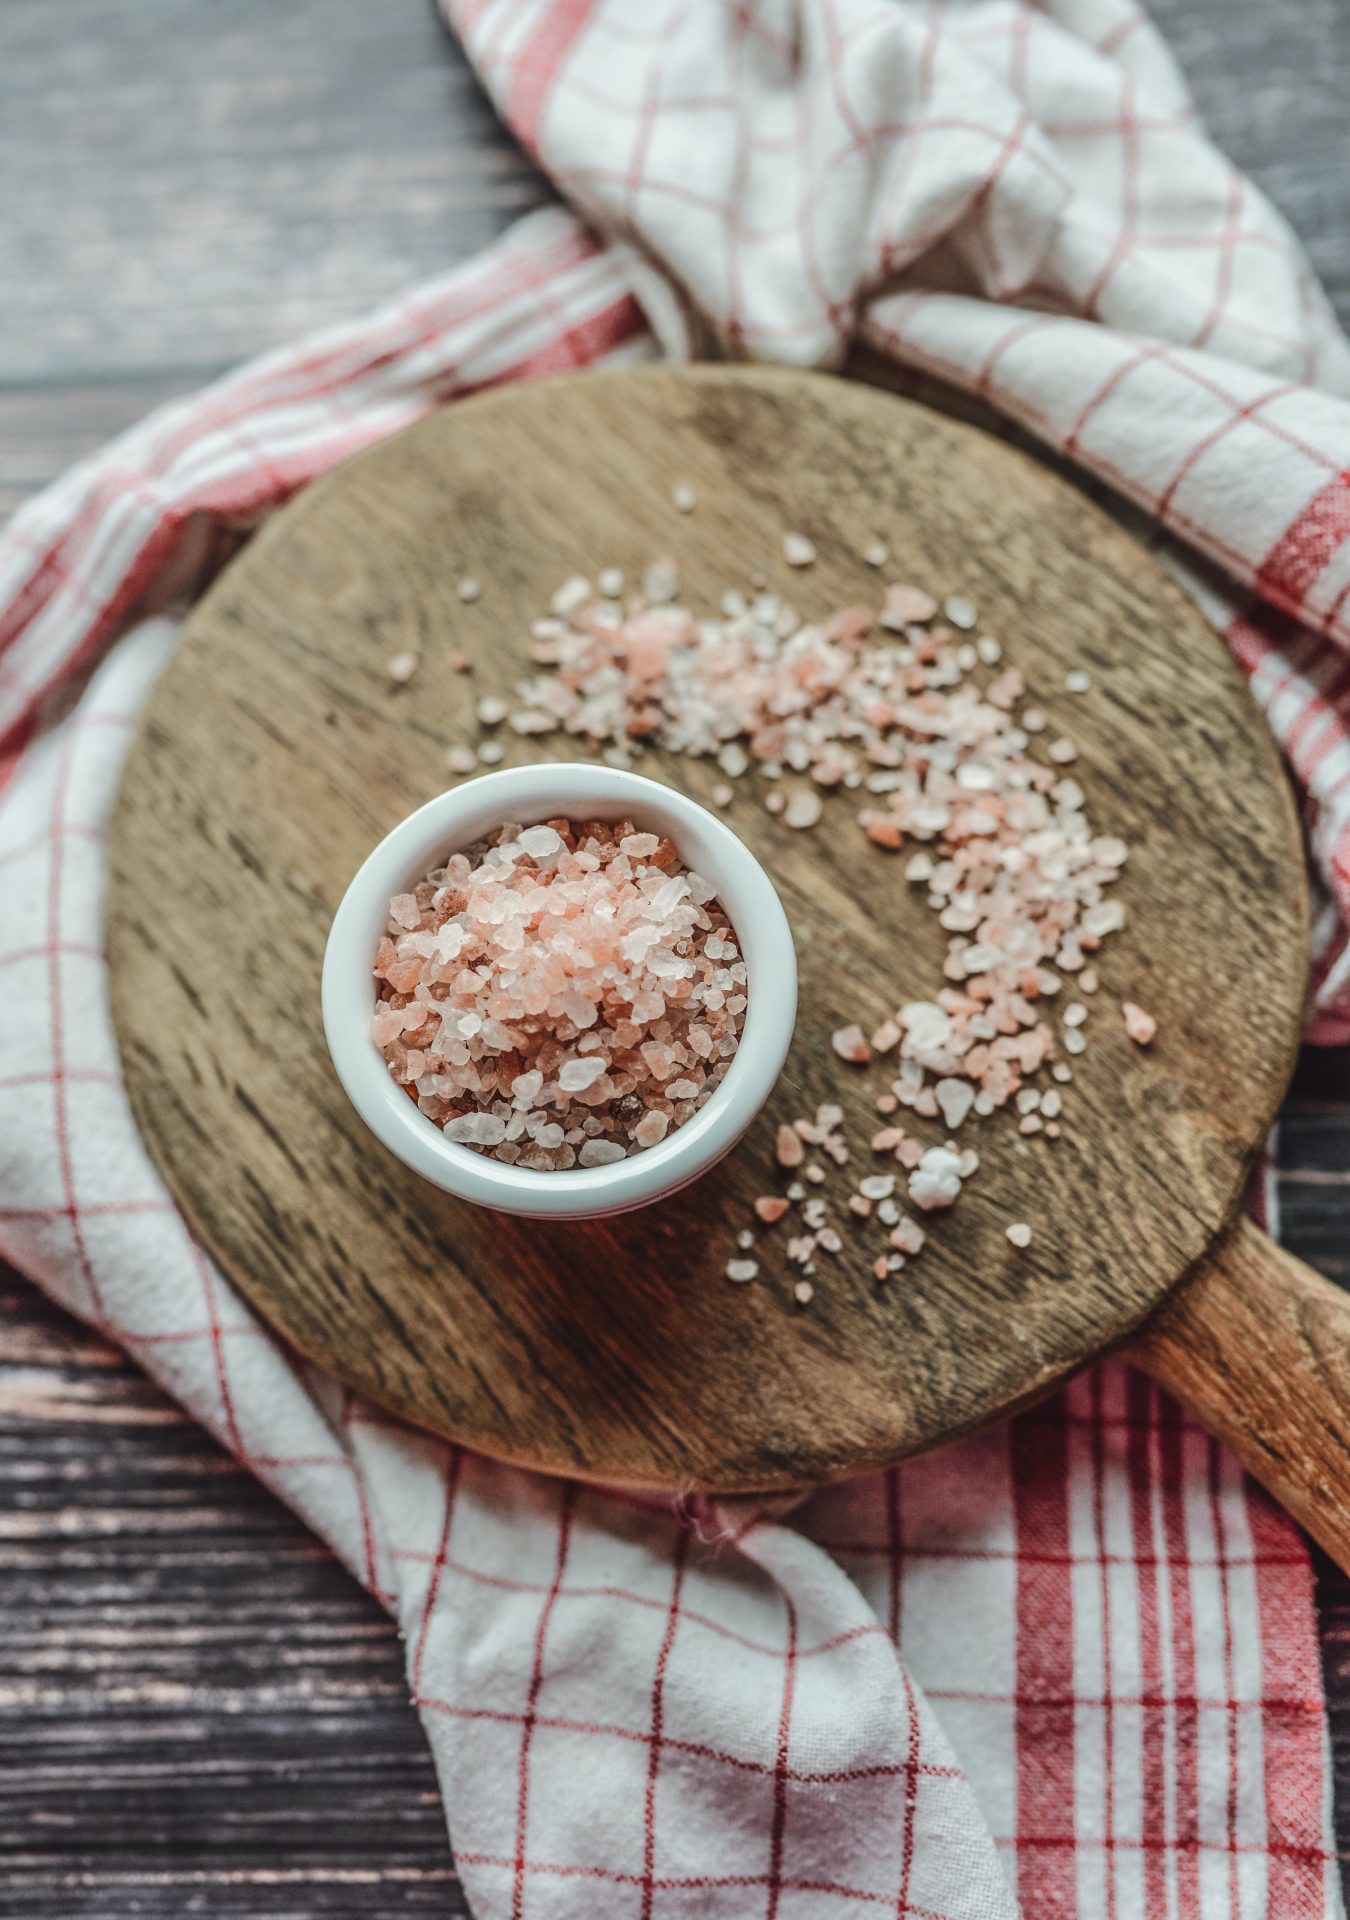
- Salt
- Beans or legumes of choice
Method:
- Place your beans or legumes in a glass or ceramic bowl and cover with warm water (you’ll need about 3 times the amount of water to legumes/beans).
- Add approximately 1 tsp of salt per 1 cup of water.
- Cover with a tea towel and place in a dry, warm place (such as in your pantry) for 12–24 hours.
- For best results, rinse and refresh the soaking water once or twice during the soaking period.
- When ready to use, drain, rinse and then cook. Just remember that soaking will reduce the cooking time, so you may need to check on your grains a little earlier.
Preparing grains and pseudograins
You’ll need:
- Warm water
- An acidic medium such as yoghurt, whey, kefir, kombucha, raw apple cider vinegar or lemon juice
- Grains/pseudograins of choice
Method:
- Place your grains in a glass or ceramic bowl and cover with warm water until submerged.
- Add approximately 1 tbsp acidic medium per 1 cup of water.
- Cover with a tea towel and place in a dry, warm place (such as in your pantry) for 12–-24 hours.
- For best results, rinse and refresh the soaking water once or twice during the soaking period.
- When ready to use, drain, rinse and then cook. Just remember that soaking will reduce the cooking time, so you may need to check on your grains a little earlier.
Preparing nuts and seeds
You’ll need:
- Warm water
- Salt
- Nuts and seeds of choice
Method
- Cover your nuts and seeds with warm water, ensuring that they are completely submerged.
- Add 1 tsp of salt per 2 cups of nuts/seeds. Stir until the salt is dissolved.
- Leave uncovered on the bench for around 12 hours (or overnight).
- Drain and rinse the nuts/seeds, discarding the soaking water.
- To use immediately: Use the rinsed nuts and seeds to make nut/seed butters or homemade nut milks. These should be stored in the fridge and consumed within 4–5 days.
- Alternatively: If you want to return the nuts to their original, crunchy state you will need to dehydrate them. To do this, place on a baking tray, making sure to spread them out evenly and roast in a very low 70℃ oven for up to 24 hours until they are completely dry. If you have a dehydrator this can be used instead.
Life hack – freezing your grains and legumes
It requires the same amount of effort to soak and cook ½ cup of grains or legumes as it does 2 cups. So why not do the whole process in bulk and freeze your grains/legumes for a later date! Having pre-cooked grains at the ready makes putting together nutritious meals so much easier. It’s also a waste free and preservative free option – no tins or plastic packets required, and no additional salt, vegetable oils or preservatives (did you know that these ingredients are hiding in most 60 second rice pouches?).
Here’s how you do it:
- Soak and cook your grains/legumes as per the guide above
- Once cooked and cooled, divide the grains/legumes into commonly used portions (for example 1 cup) and add to airtight containers or jars. Place in the freezer until ready to use – they will keep for 3-6 months in a regular freezer and 12 months in a deep freezer.
- When you are ready to use your frozen grains/legumes, you have a few options:
1. The easiest option, if you have frozen your grain/legume in glass jars, is to take the jar from the freezer, remove the lid, and pop it straight in the microwave. Re-heat until steaming hot (approx. 90 seconds). The jar will not crack.
2. Remove your grain/legume from the freezer the day before and defrost it in the fridge. Once defrosted, reheat in a pot/pan or add it to your meal (for example, you can add chickpeas straight into a curry, or lentils straight into a Bolognese).
3. Remove your grain/legume from the freezer the day before and defrost it in the fridge. Once defrosted, reheat in the microwave (in ceramic or glass). - Do NOT place frozen jars into warm water to defrost, as this will cause the jar to crack.
- Do NOT place plastic in the microwave.
Written by Renee Jennings – Dietitian
Reviewed by:
Kate Holm – Nutritionist & Naturopath
Luka McCabe – RM/RN


+ show comments
- Hide Comments
add a comment