


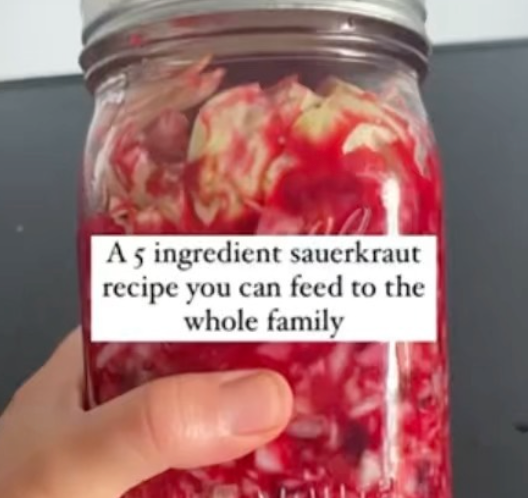
Home Made Sauerkraut
This is a super easy sauerkraut recipe you can feed to everyone in your family.It’s suitable for babies from when they start solids. Start with the brine first then build up to small pieces.
Contents
Back in stock
Toddler to Table now back in stock!
Your guide to bringing the family together, one meal (and delicious recipe) at a time.
Order nowAGE APPROPRIATE: 6 months + This is a super easy sauerkraut recipe you can feed to everyone in your family.It’s suitable for babies from when they start solids. Start with the brine first then build up to small pieces.
Homemade Sauerkraut

GF | DF | RSF | EF | NF
- cutting board
- knife
- Food processor or thermomix
- Large mixing bowl
- Measuring Spoons
- Glass jar with wide mouth
- 1/2 cabbage ((or 1/4 of a large one))
- 1 carrot
- 1 beetroot
- 1 apple
- 1 tbsp salt
-
First remove the outer cabbage leaves and set aside. You will use these at the end to weigh down the sauerkraut.
-
Chop your cabbage and grate the carrot, beetroot and apple. You can do this by hand or using a food processor or thermomix. If doing it in a food processor be careful to not cut it too fine as it can go soggy.
-
Add to a large bowl and sprinkle over the salt. Mix through with your hands to distribute it (you don’t need to massage it just yet).
-
Leave to rest – this allows time for the salt to draw water out of the cabbage and will make massaging much easier. Leave for a minimum 10 minutes.
-
Massage everything with your hands, squeezing out the liquid as you go until you have a good amount pooling at the bottom of the bowl.
-
Pack the vegetables tightly into a clean wide mouthed glass jar – I like the ball mason brand but any old jar with a wide mouth will do. Leave about an inch or two space at the top of your jar to allow room for the cabbage to expand.
-
Push the vegetables down tightly until they are all submerged under the liquid. Roll up your cabbage leaves from earlier and place on top to help weigh it down. You can also add a fermentation weight or shot glass to help.
-
Leave to ferment at room temperature out of direct sunlight for 2 -4 weeks or until taste is to your liking. I like to put it on a plate or a tray to catch any spills.The warmer the temperature the faster it will ferment and the longer you leave it to ferment the softer and tangier your kraut will be. There is no right or wrong time to leave it – the end result is dependent on your taste buds.
-
Place in the fridge when the taste is to your liking. Once open it’s best consumed in a month but unopened it will last 3 months in the fridge.
Back in stock
Toddler to Table now back in stock!
Your guide to bringing the family together, one meal (and delicious recipe) at a time.
Order now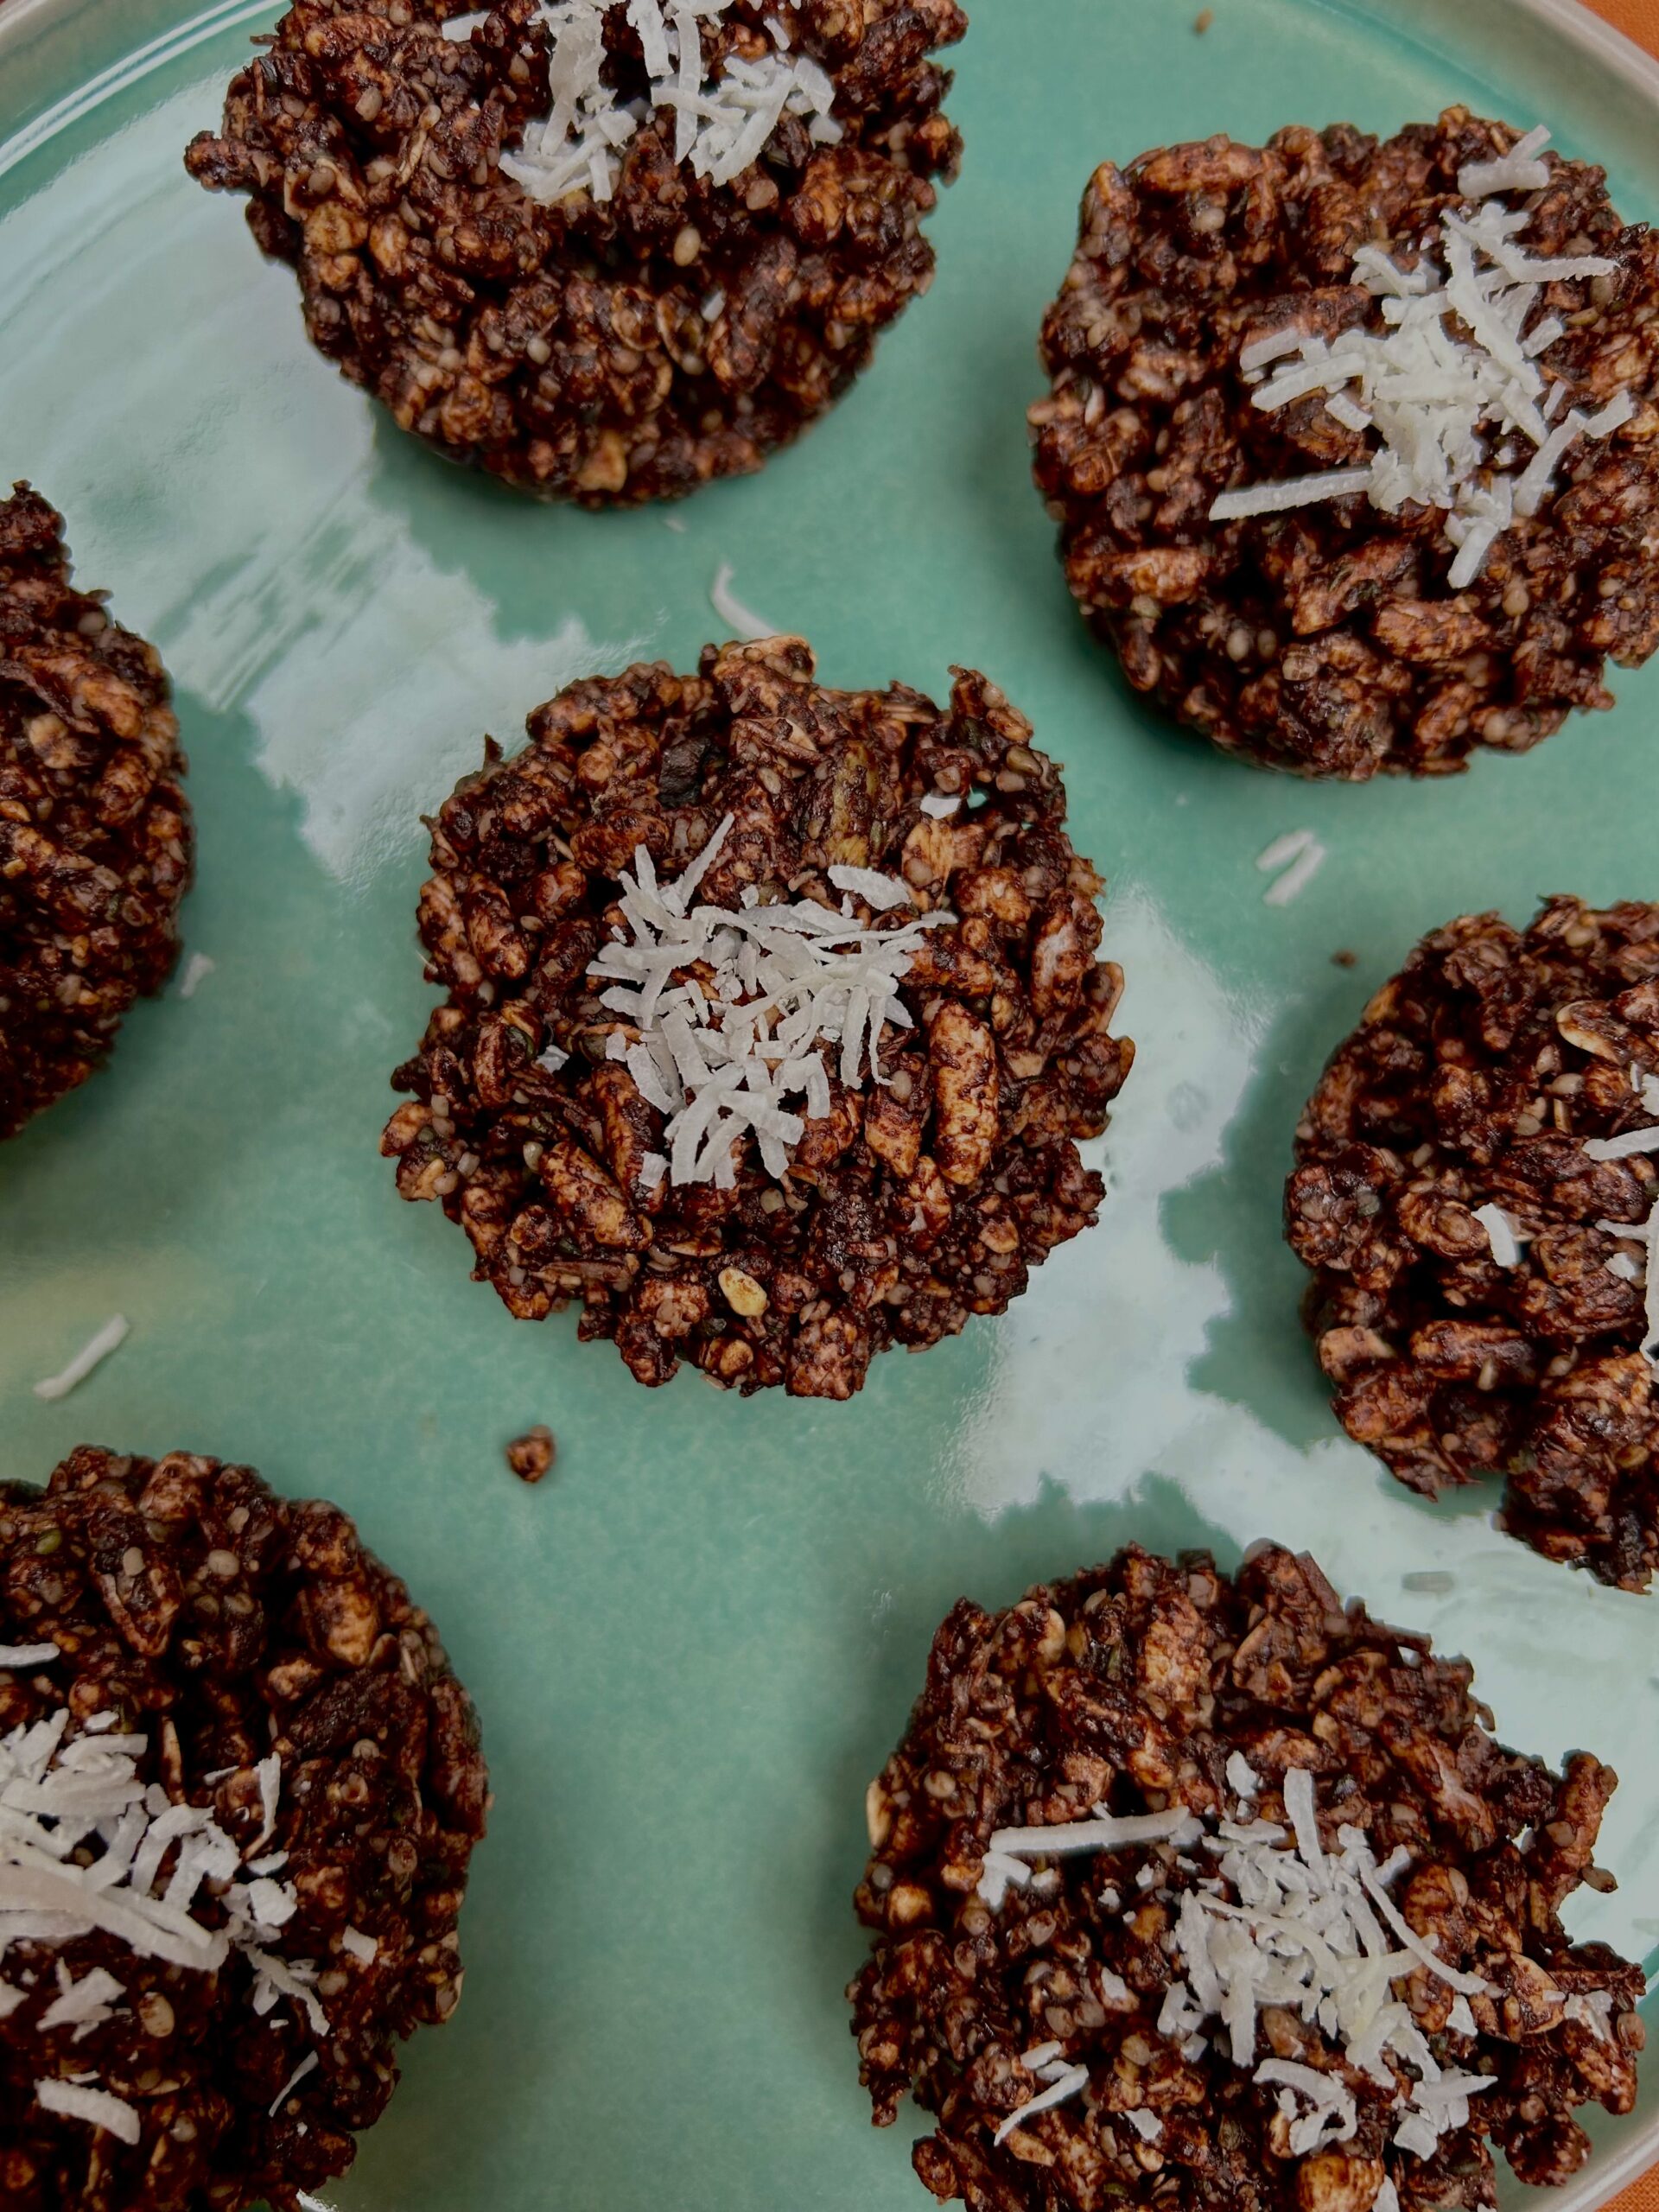
Rice, peanut butter and cocoa puffs
We all remember the infamous Chocolate crackle at kids birthday parties I’m sure. This is a nutritious take on this old favourite and they can be put together in no more than 10 minutes. Add any seeds that you like if you don’t have hemp seeds. Pepitas or sunflower seeds work a treat.
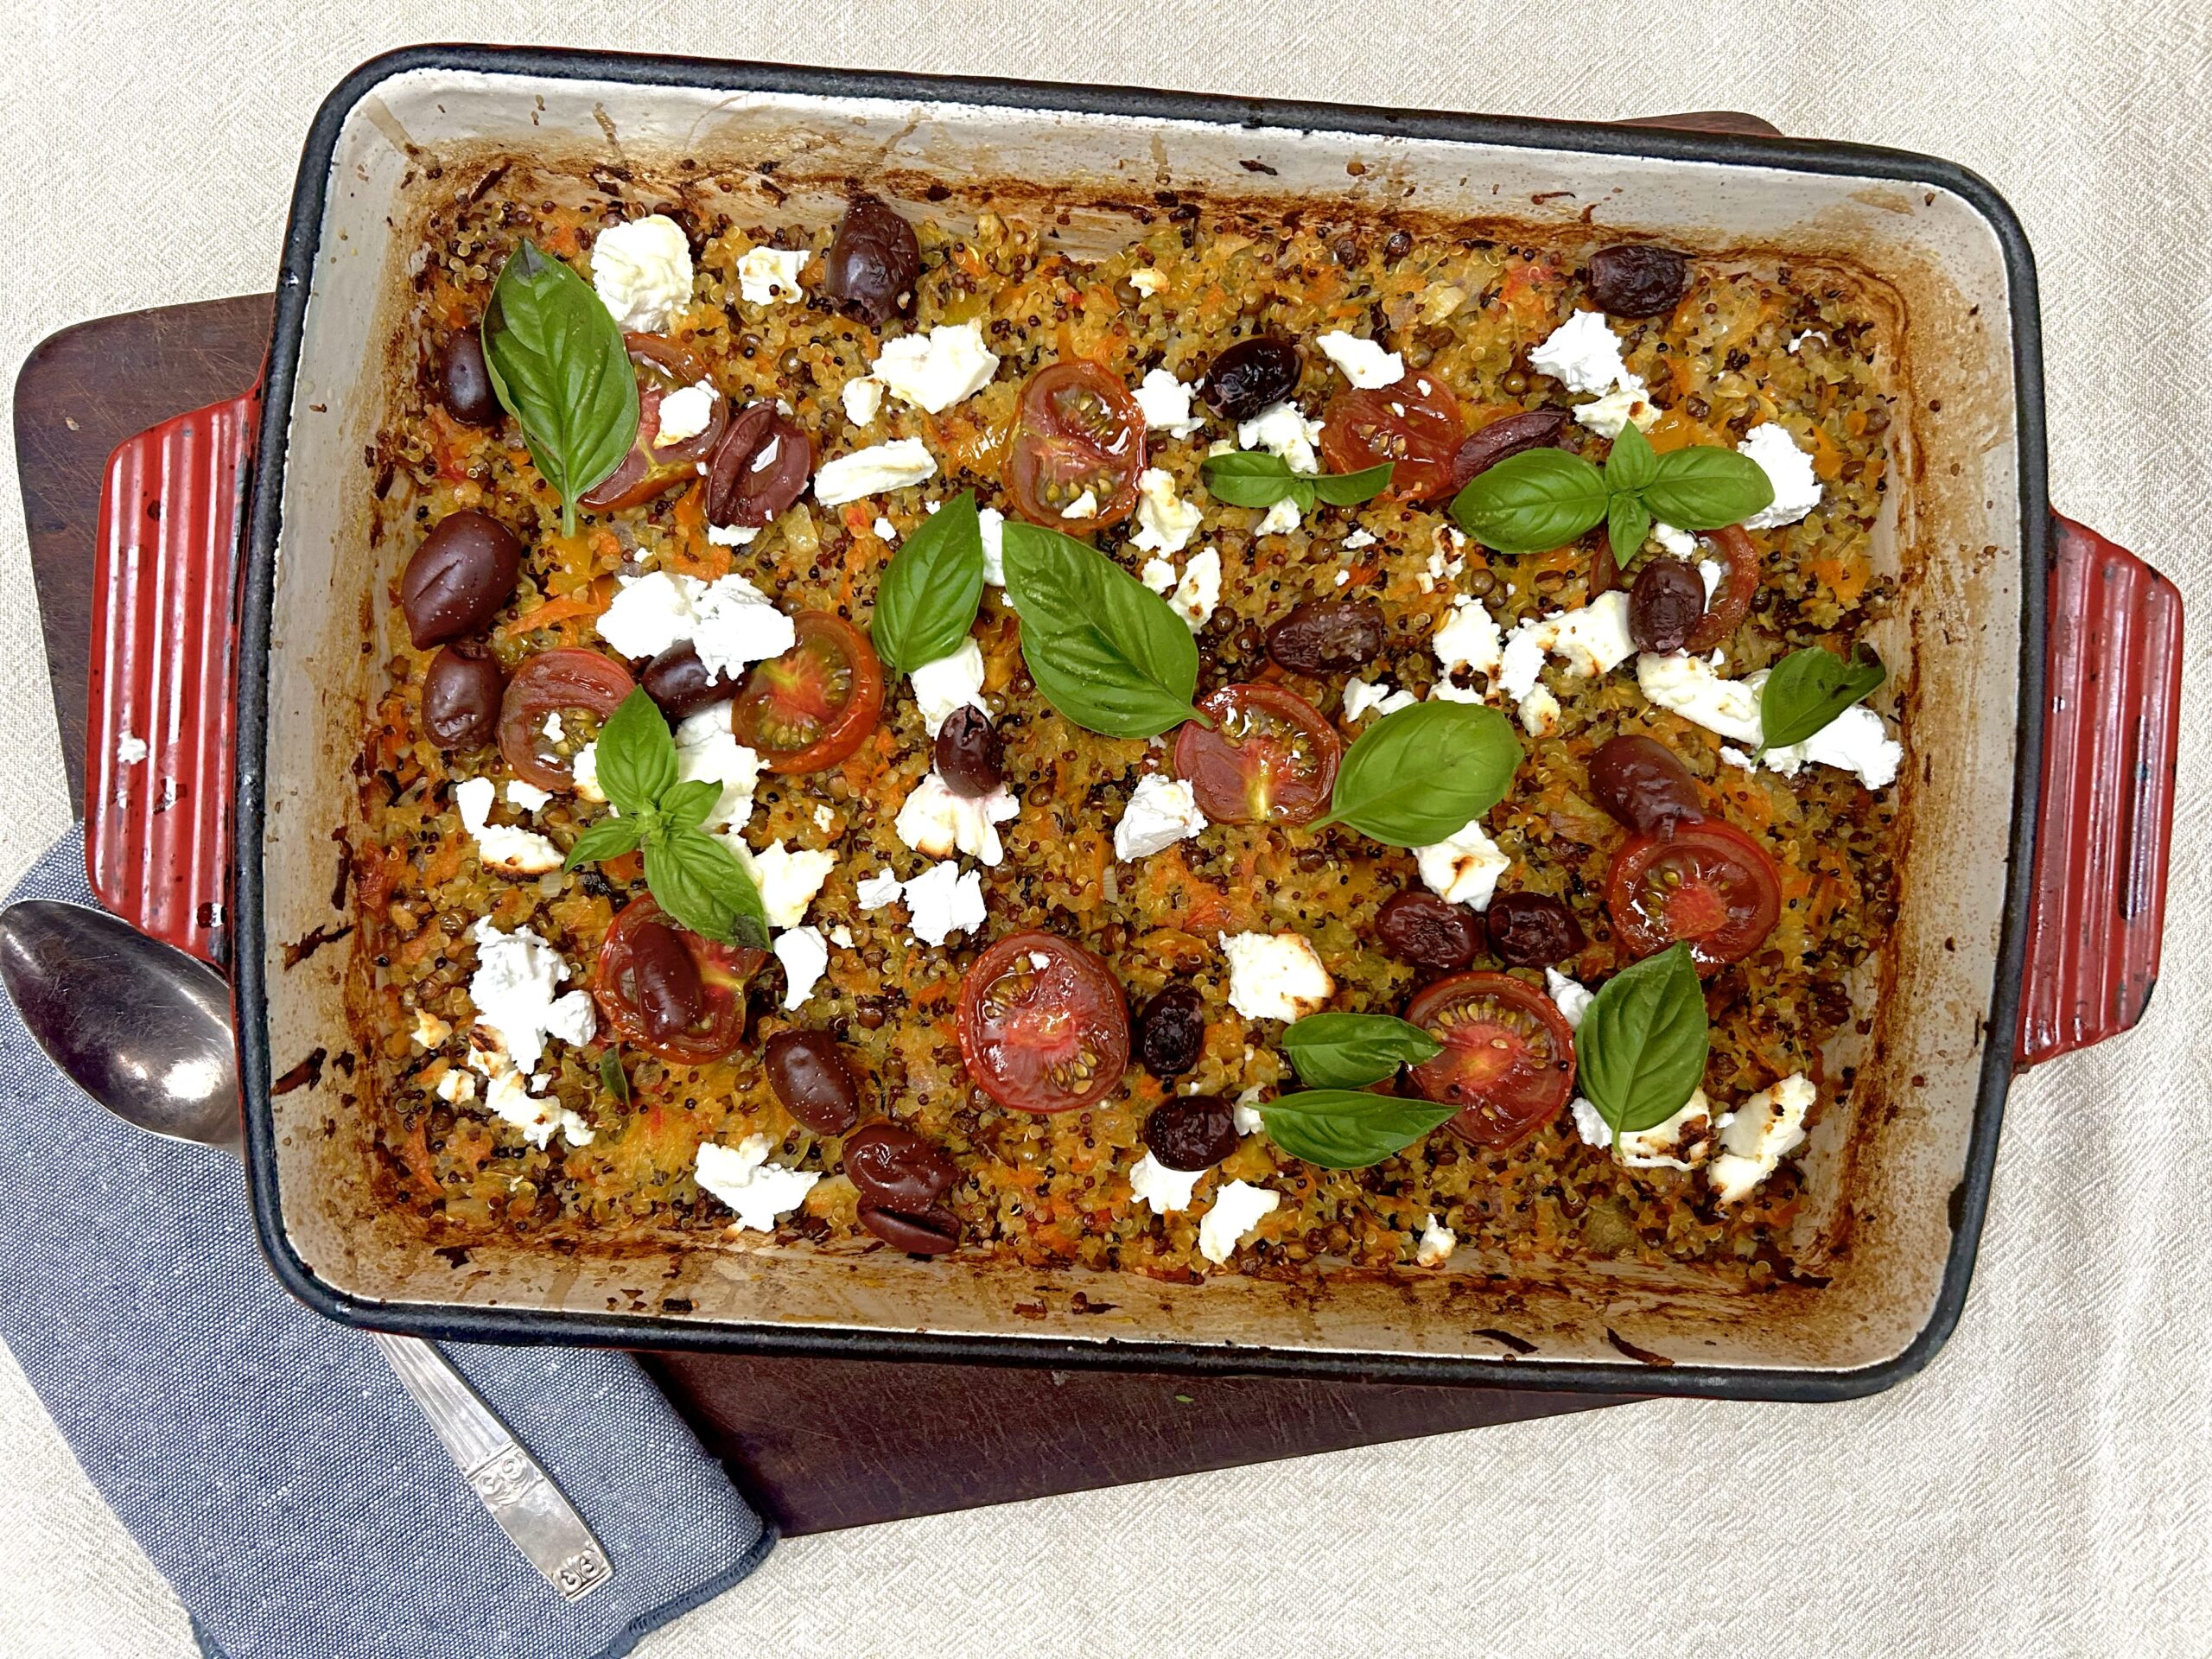
One pot quinoa bake
This one pot wonder is great on its own for lunch or dinner or you can serve it along side your favourite salad. You will need a pot that can start the cooking process on the stove and then be transferred to the oven. This dish is easily blended into a purée for your baby … Continued
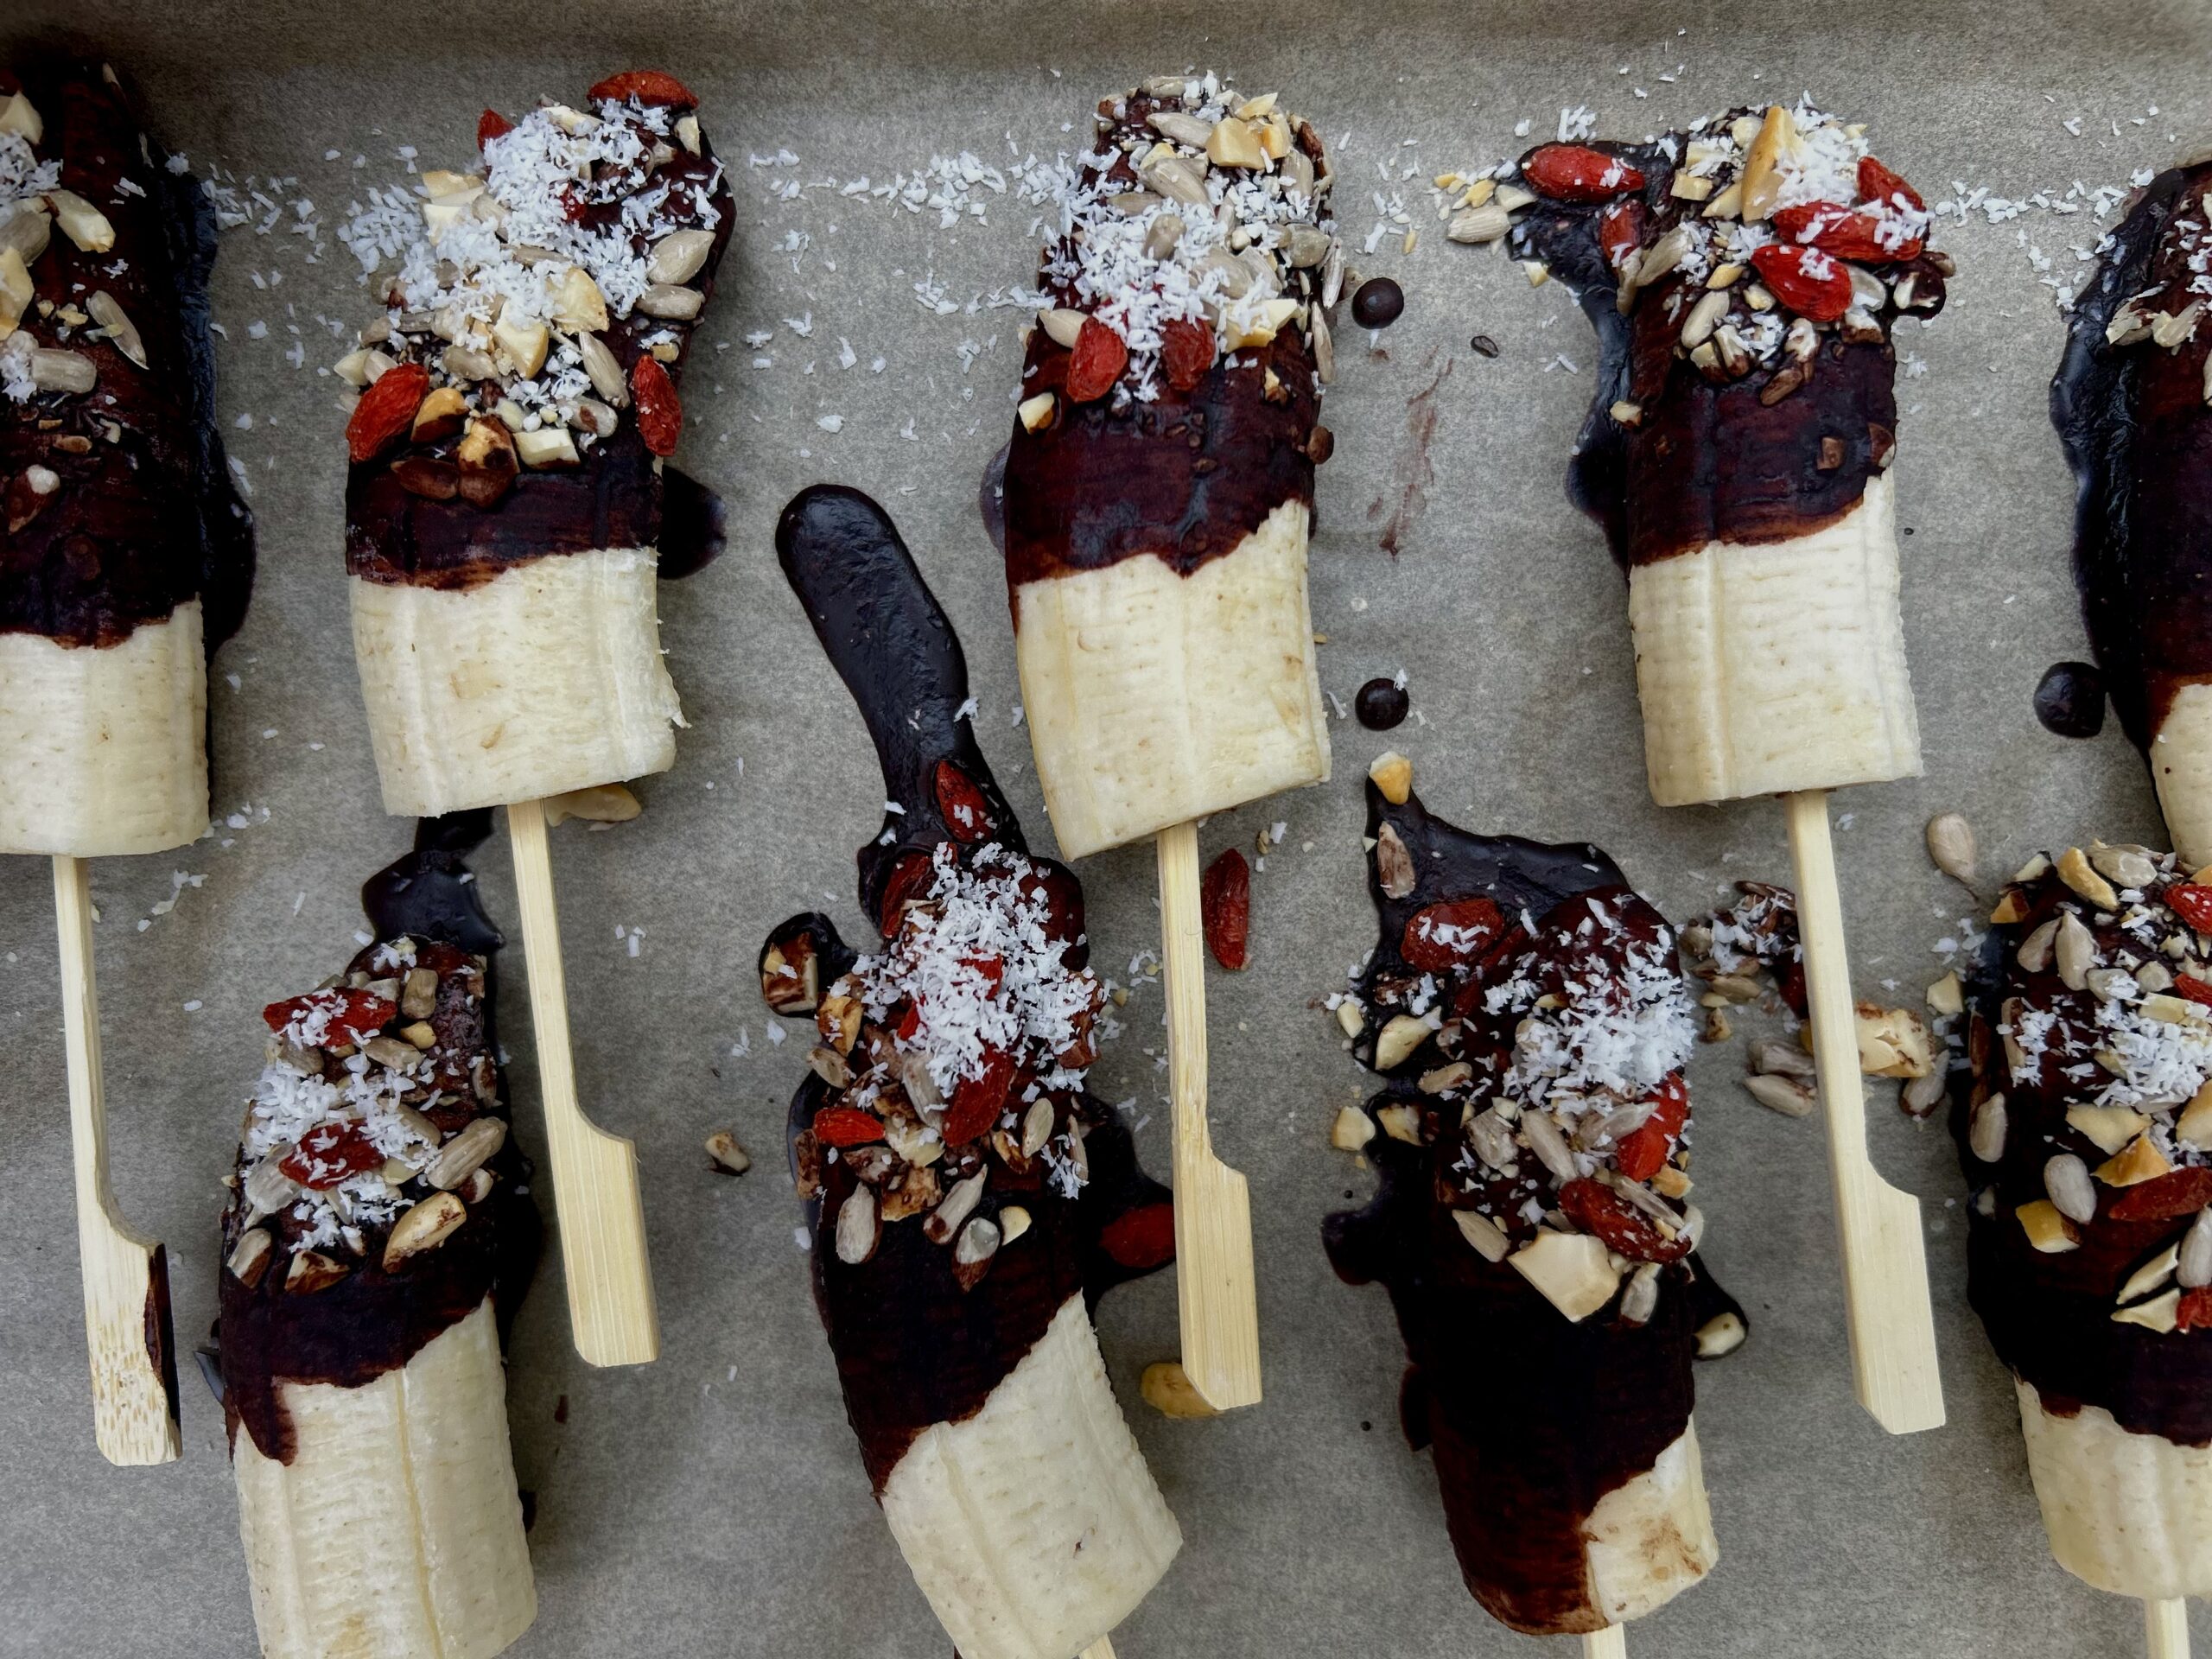
Chocolate coated bananas with nuts, seeds and coconut
I have been making these chocolate coated frozen bananas ever since some good friends visited far North Queensland and shared them with us. We were hooked. Now I love to play around and make them with different nut, seed and dried fruit combinations. You can use hemp seeds or pepitas, peanuts, almonds or walnuts. Dried … Continued

Chicken fajitas with pineapple, corn and cucumber salsa
Summer is the time for Mexican food! It’s fresh, best enjoyed outside and it’s a great serve your self meal which the kids love! You can throw in any extra vegetables with the chicken. Such as grated zucchini, capsicum or mushrooms.

Christmas ham, cheese and tomato tart
The classic ham, cheese and tomato combination can be served and enjoyed in so many ways. This simple and easy to put together tart can be made with any cheese that you like. You can use feta instead of ricotta or cheddar instead of Parmesan. This tart is moreish, great served with a side salad … Continued
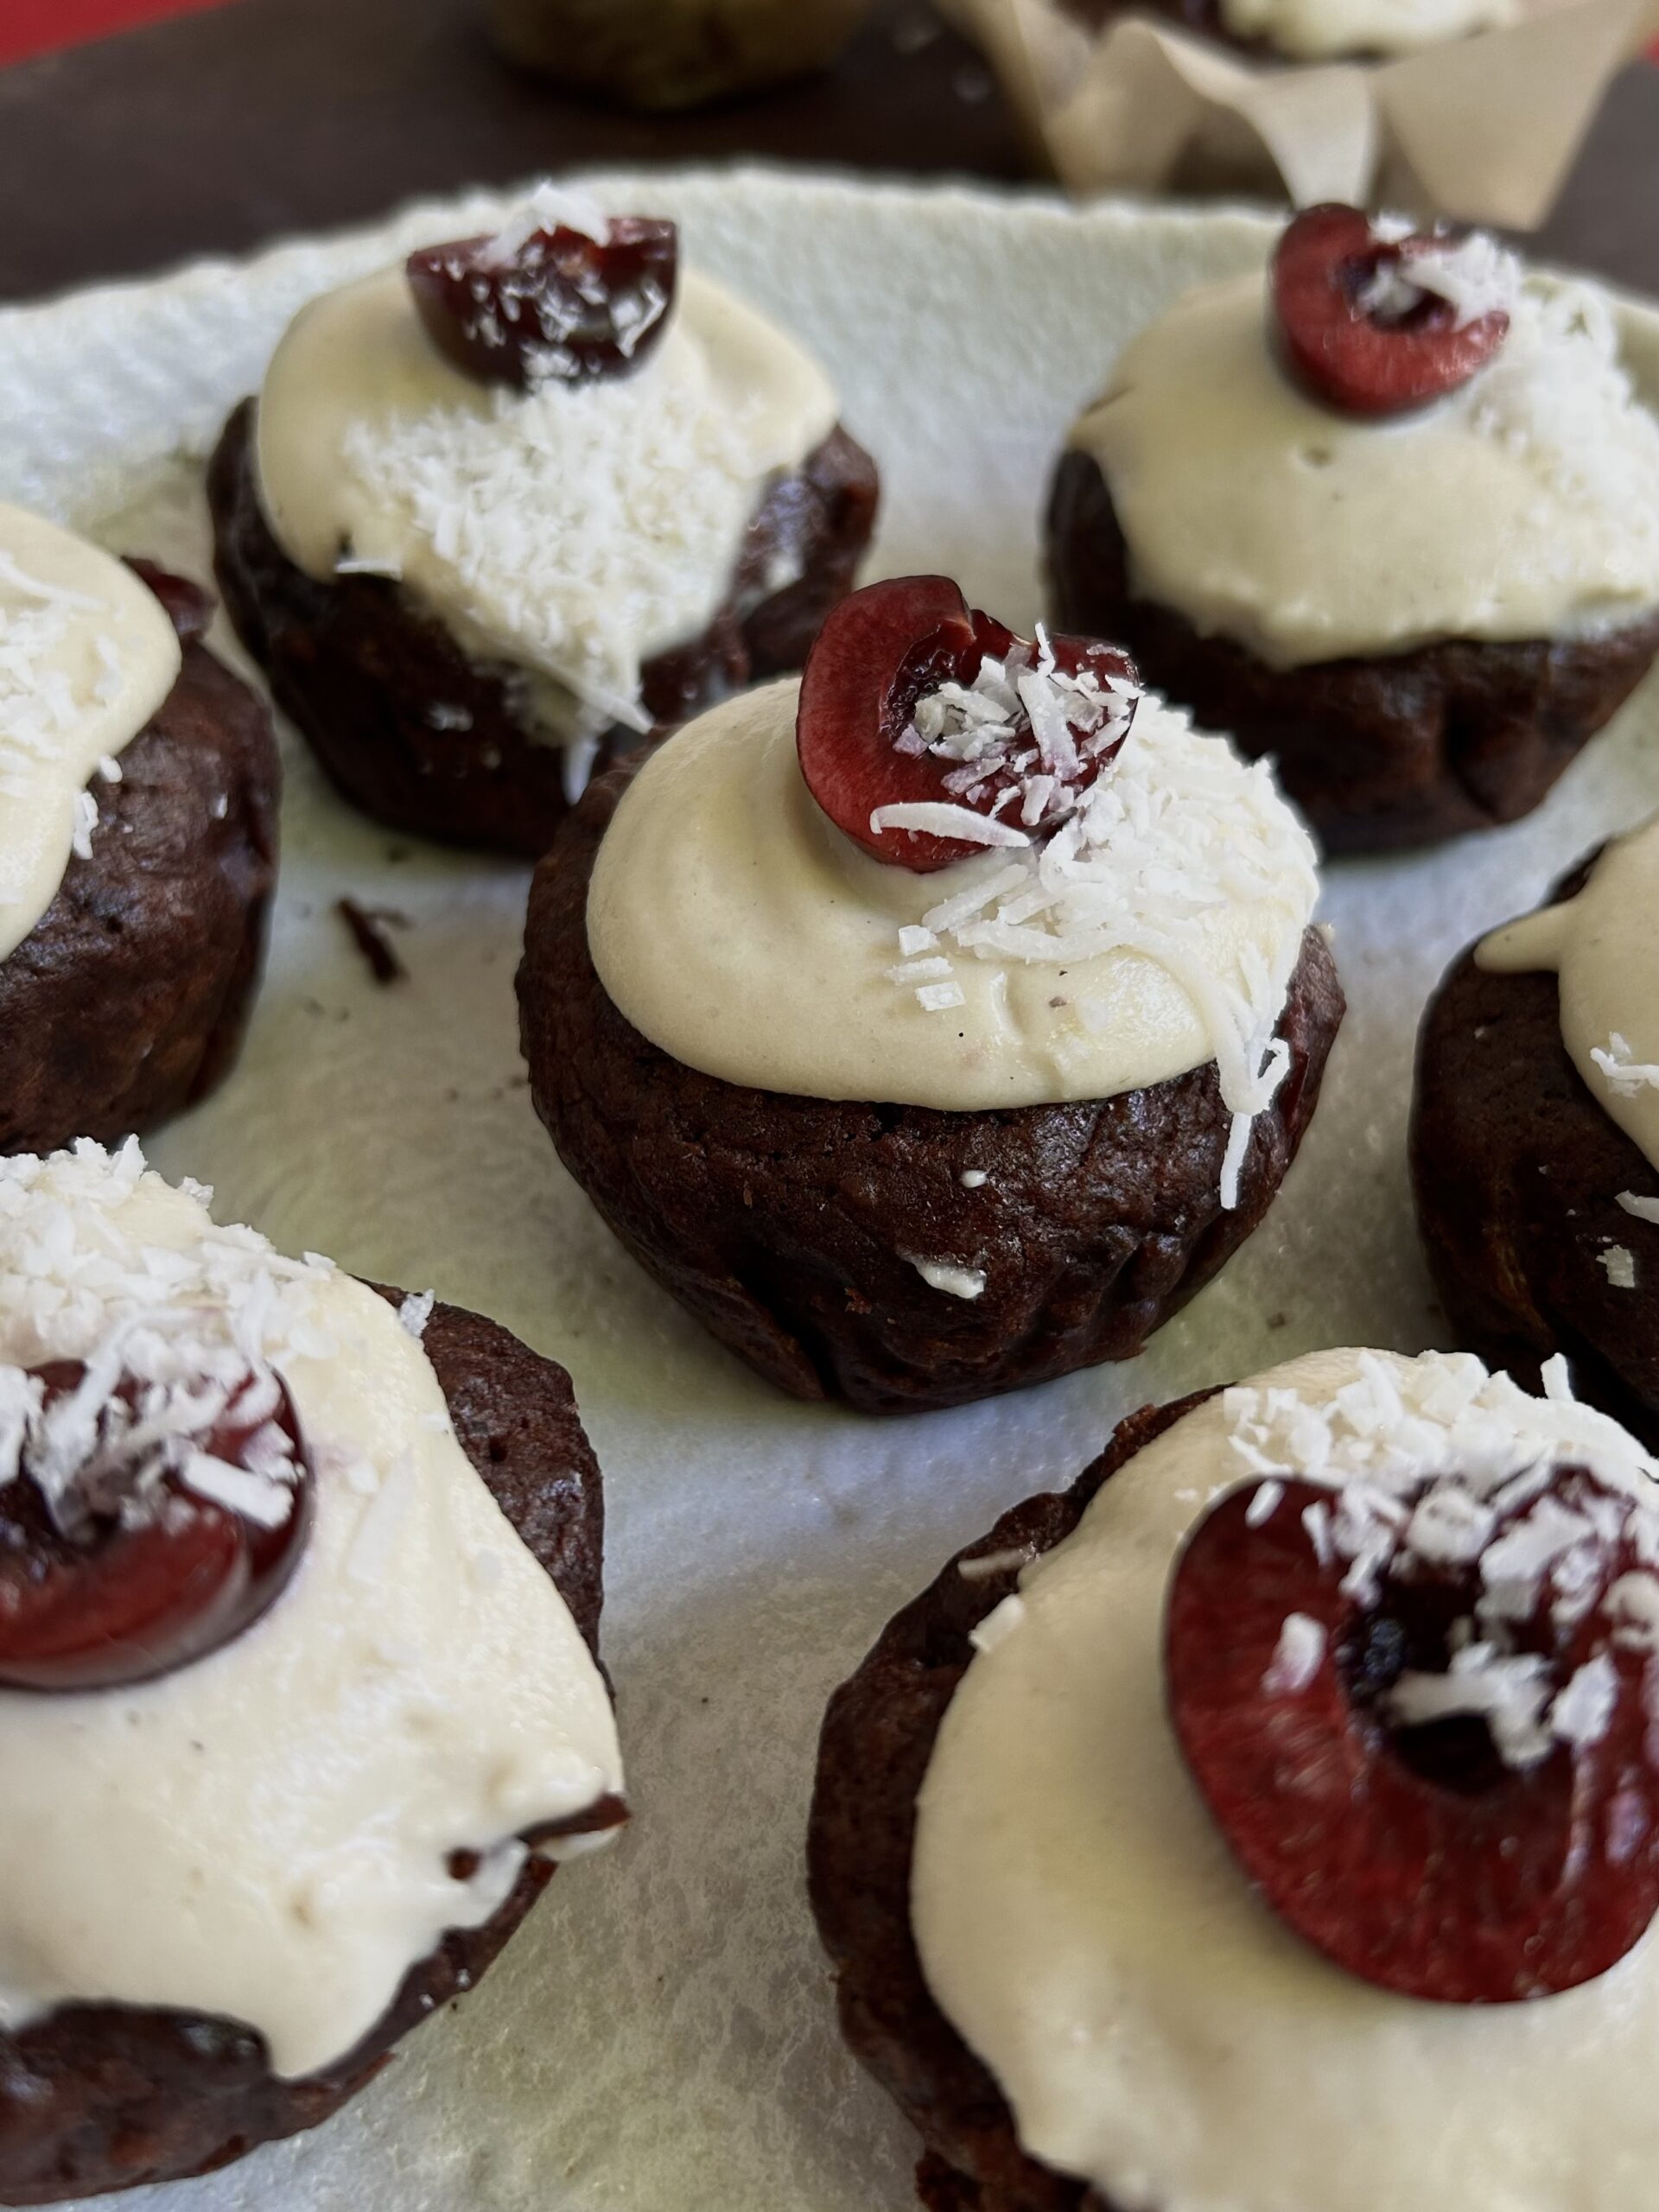
Chocolate and cherry Christmas muffins with cashew cream
Chocolate and cherry! A beautiful Christmas combination in my family. These delicious muffins are sweetened with maple syrup and topped with a cashew and coconut cream.


Add a comment
Show Comments
4Leave a Comment
Your email address will not be published. Required fields are marked *
Haylie says:
Looking forward to making this! Just checking do you put the squeezed out liquid into the jar? or will liquid appear when you press the veggies down? Thanks! x
Luka says:
liquid will appear when you press the veggies down but if you have any extra then pour on top!
Kaila Cooper says:
Just checking can you open this to check on it/taste it and then continue to ferment if not to your liking yet? Also what to do if it turns out too salty? Thanks!
Kate - Boob to Food says:
Hi Kaila, yes you can open it to check on it and then continue to ferment. If you are finding that it is too salty then it likely means it isn't ready yet :) Hope that helps!